Food Photography Bag Guide: Organize Kitchen Gear Efficiently
By Avery Sullivan • 15th Dec
When your next photoshoot demands you pack up and head to the kitchen, the right organization system can mean the difference between professional results and forgotten props. Forget skimpy photography bag reviews that don't address your specific needs. True food photography organization starts with understanding how your gear lives together in motion. After watching too many talented food photographers waste precious shoot time hunting for misplaced props, I've developed a method that eliminates the chaos without breaking the bank.
Why Food Photography Gear Demands Special Organization
Food photography presents unique challenges that confuse standard camera bags. You're not just carrying lenses and batteries. You're transporting delicate props, styling tools, and often, perishable items that need careful placement. A standard camera backpack might protect your gear from drops, but it won't keep your linen napkins clean or your tweezers within reach when you're mid-shot.
My first 'pro' bag had twenty pockets and no plan. I lost time deciding where batteries lived and doubled gear just to stay sane. Sound familiar? This is why general 'camera bag' advice fails food photographers: you need a system that accommodates both your camera equipment and your styling arsenal. For a concise, step-by-step framework, see our camera bag organization guide.
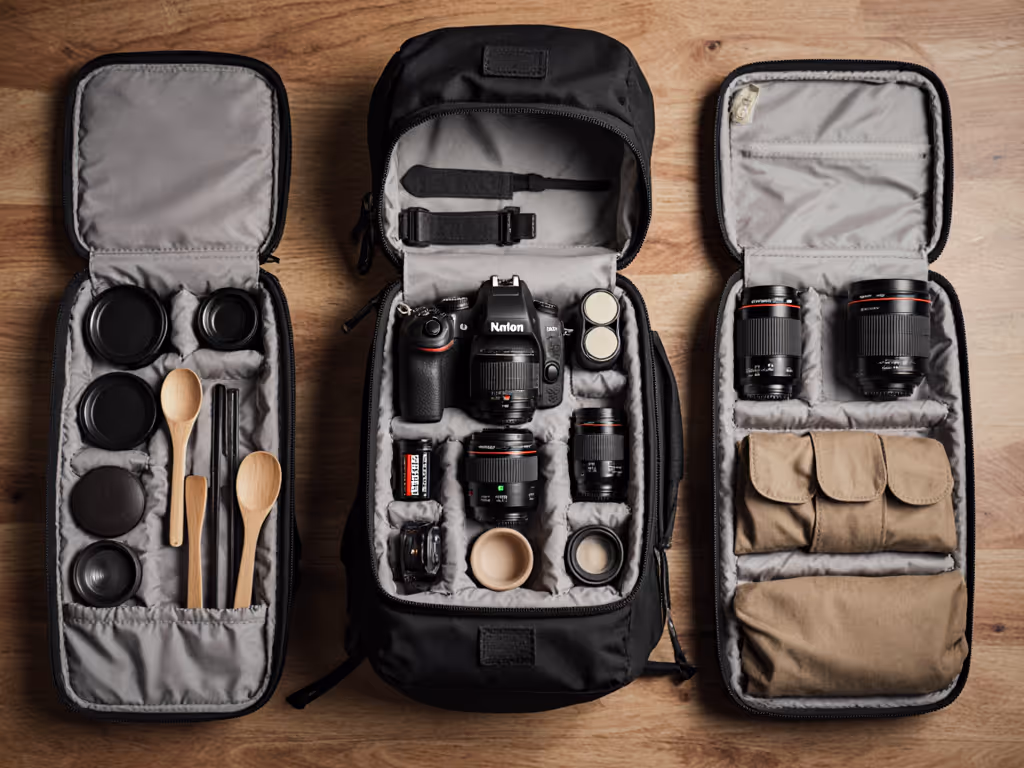
The Modular Approach: Building Your System
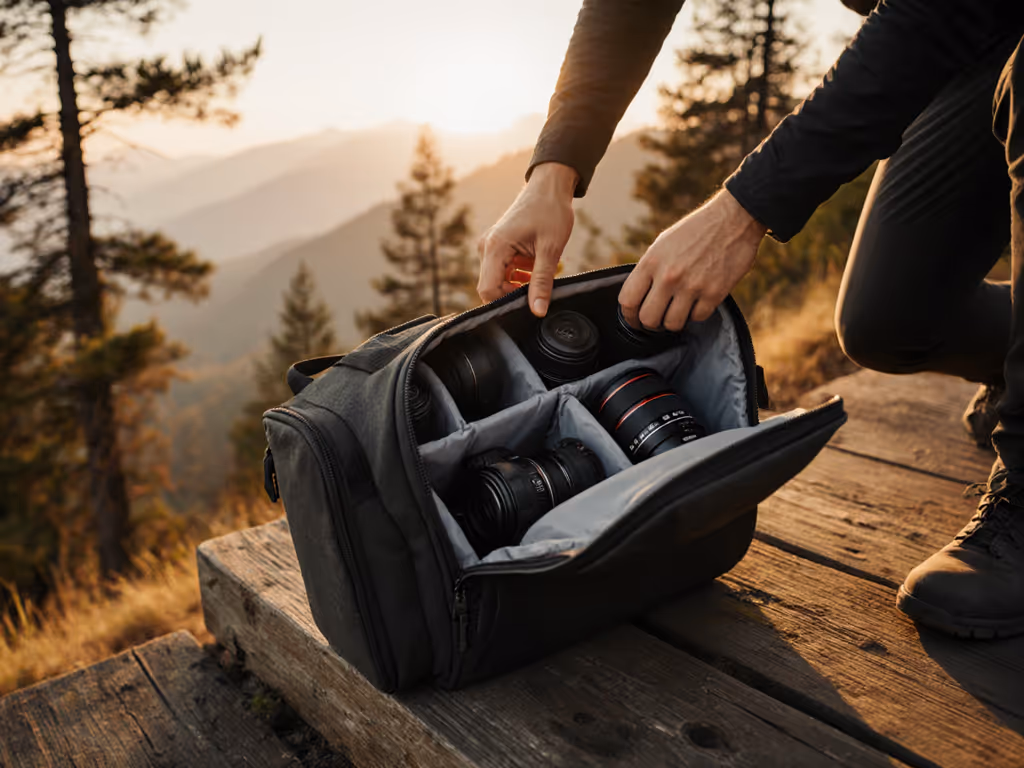
Forget the myth of the "perfect single bag." Instead, think in zones that work together: If you're debating layout styles, compare modular vs fixed compartments to pick what suits your workflow.
- Core Camera Zone: Your camera body, lenses, and essential electronics
- Lighting Zone: Your portable lighting for food solutions (strobes, diffusers, reflectors)
- Prop Zone: Your food styling props organization system (flatware, textiles, tweezers)
- Food Prep Zone: Containers for ingredients and craft services (yes, this counts as gear!)
The magic happens when these zones communicate with each other. I've watched photographers struggle with oversized bags stuffed with duplicate items because they didn't design zones that work together. Instead, create a kitchen photography setup where each component has a designated home that makes sense for your workflow.
Your Decision Gate: Finding Your Starting Point
Before you spend another cent on gear you'll regret, answer these three questions:
"What's the absolute minimum gear I need to get started? Which items cause me the most stress when packing? Where do I consistently waste time during setup?"
This decision gate separates food photographers who constantly battle their gear from those who move through shoots with confidence to shoot. Most beginners try to solve everything at once and end up with a bag graveyard. Instead, start with your most immediate pain point.
For example, if you're constantly searching for your lens cloth mid-shoot, don't buy a new bag (create a dedicated pocket system inside your current one). A fast fix is to drop in camera bag inserts that turn any backpack into organized, padded storage. If you're tripping over your lighting stand, develop a specific carry method rather than immediately upgrading to a "pro" bag.
Organizing Your Specific Gear Types
Food Styling Props: The Silent Stressors
Those tiny tweezers and gold-plated forks seem insignificant until you're hunting for them with clients waiting. Organize your food styling props organization with these principles:
- Clear containers only (no ziptop bags that become opaque and get tossed)
- Category-based grouping (all silverware together, all textiles together)
- Label everything: "flatware for dark backgrounds," "textiles for bright setups"
- Portion control: bring only what matches your shot list
I learned this the hard way when I showed up to a cookie shoot with three boxes of props but no actual cookie cutters. Now, I match my prop selection precisely to the client's shot list.
Camera and Lighting Gear: Beyond Basic Protection
Your camera gear needs protection, but food photography adds layers of complexity. Portable lighting for food often means awkwardly shaped modifiers that don't fit conventional compartments. You can extend a current pack with simple DIY camera bag upgrades like custom dividers, cable routing, and weatherproofing. Address this by:
- Using padded cubes for strobes that fit inside your main bag
- Storing diffusers in a dedicated roll-up pouch
- Keeping power cords wrapped and secured with velcro straps
- Carrying backup batteries in a dedicated, labeled container
The goal isn't just to cram everything in; it's to create a system where you can access your food photography gear without disturbing other components.
Efficient Kitchen Photography Setup: Your Flow Matters
When you arrive at location, your setup time directly impacts your profitability. A streamlined kitchen photography setup means:
- Everything has a place (no decisions about where items go during setup)
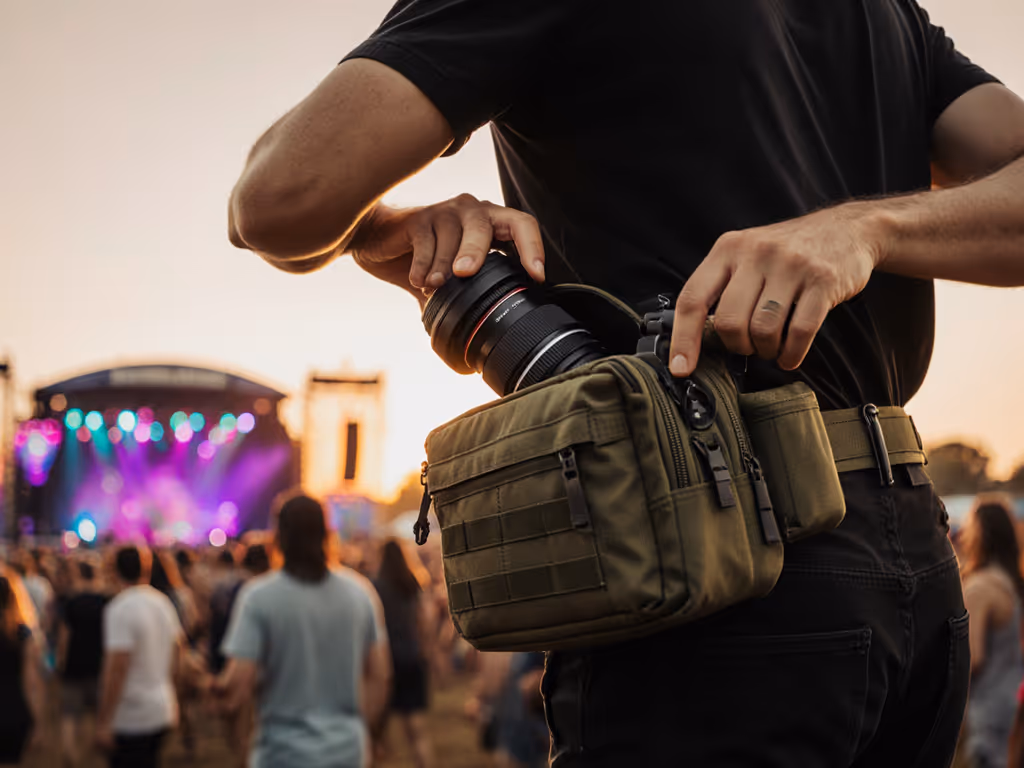
- Priority access: your camera and most-used props come out first
- Logical grouping: all food styling tools stay together, not scattered across compartments
- Contingency planning: rain cover, extra batteries, and emergency prop replacements stay visible
I've worked with photographers who spend 20 minutes unpacking unnecessarily because their bag organization doesn't match their shooting sequence. Don't be that person.
Confidence to Shoot: Making It Happen
When you've built a system that works, you'll experience that magical shift from "Where's my reflector?" to confidence to shoot. This isn't just about comfort; it's about creating mental space for creativity. When your gear works for you instead of against you, you stop thinking about equipment and start focusing on light, composition, and storytelling.
The key? Start small, fit right, build the system methodically. Begin with organizing just one category of gear exceptionally well. Master that before adding complexity. A single well-organized prop box creates more value than a chaotic "pro" bag stuffed with everything.
Your Next Step: Build Your Foundation
Your perfect organization system isn't about expensive gear; it's about creating a workflow that removes friction. Next time you pack for a shoot, ask yourself: "What single item caused me the most stress last time?" Address that one pain point, then build from there.
Want to dive deeper into creating a personalized system that grows with your business? Check out our free resource on mapping your specific kit, body mechanics, and shoot scenarios to the right organization approach. Because when your gear works for you, you stop managing equipment and start making remarkable images. If you're choosing a new bag, start with our how to choose the right camera bag primer to match body, gear, and workflow.
Related Articles