Master Camera Bag Organization in 5 Steps
By Avery Sullivan • 3rd Oct
What makes a good camera bag truly exceptional isn't just protection, it's how effortlessly it gets your camera in hand when inspiration strikes. A well-organized camera bag transforms chaos into confidence, turning what many photographers dread (digging through gear) into a seamless extension of your creative flow. If you've ever missed a shot while scrambling for a lens cap or felt your shoulders aching halfway through a shoot, you're not alone. Let's walk through a system that matches your body, gear, and shooting style, without drowning you in options.
Why Traditional Organization Methods Fail You
"I've tried organizing by size, but I still lose time hunting for gear. What's the better approach?"
Most photographers default to arranging gear by size (biggest items first), but this ignores how you actually work. Your muscle memory matters more than neatness. If you shoot with a 24-70mm 80% of the time, it should live in your most accessible spot, not buried under lenses you rarely use.
Instead, map your workflow:
- Identify your "go-to kit": What's the camera + lens combo you reach for most?
- Track your access patterns: How often do you need batteries, cards, or filters?
- Zone your bag accordingly: Create a "prime real estate" triangle (where your hand naturally falls) for your top 3 items
This is where I learned my lesson with my first 'pro' bag, 20 pockets meant knowing where everything could be, but never where it was when I needed it.
"How do I organize without buying expensive cubes or pouches?"
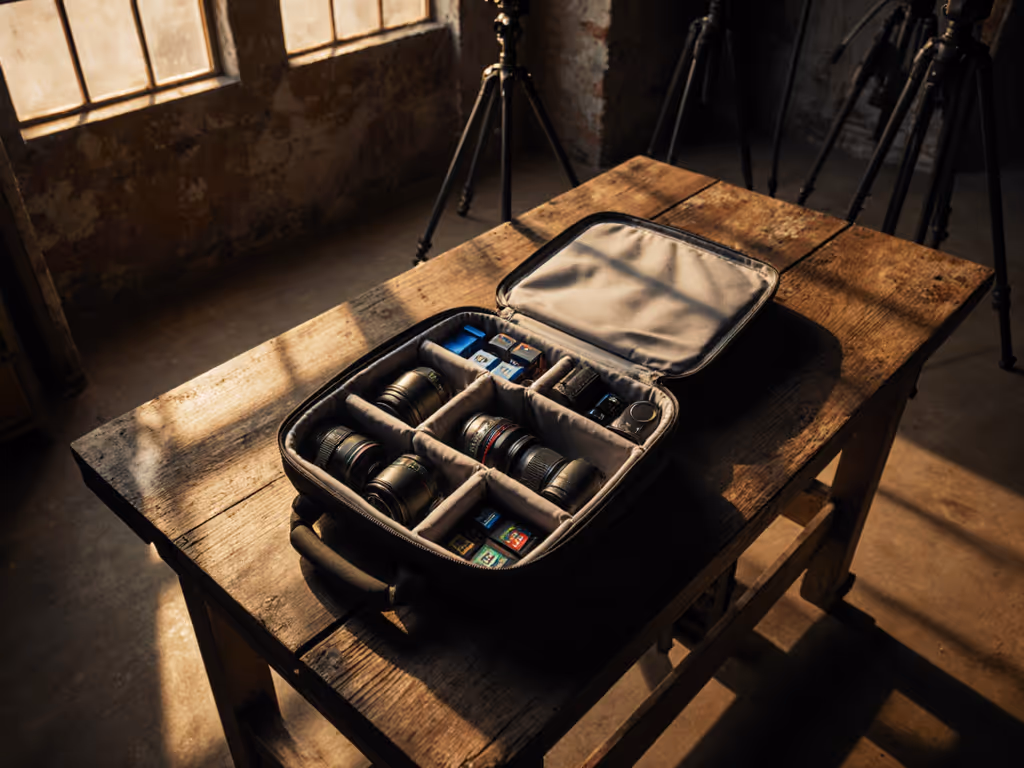
You don't need fancy organizers. Start with what you have:
- Use lens caps as anchors: Keep rear caps on lenses and store front caps in a single stretchy pocket
- Group by shoot type: Wedding day? Store battery + speedlight in one pouch. Street photography? Keep spare cards and cash together
- Color-code with washi tape: Mark divider edges for quick visual reference

Step 2: Build Your Body-Fit System
"I keep getting shoulder pain even with padded straps. Is it my bag or my body?"
It's likely both. A truly good camera bag adapts to you, not the other way around. Try this fit test:
- Load your bag with 60-70% of your typical gear
- Walk 100 steps on level ground
- Check for:
- Pressure points on shoulders/hips
- Straps digging or slipping
- Asymmetrical weight distribution
*For petite frames or curvier bodies, look for:
- Adjustable sternum straps that sit below collarbones
- Hip belts that clip in front (not sides)
- Narrower harness channels to prevent shoulder roll*
"What's the single biggest mistake people make with weight distribution?"
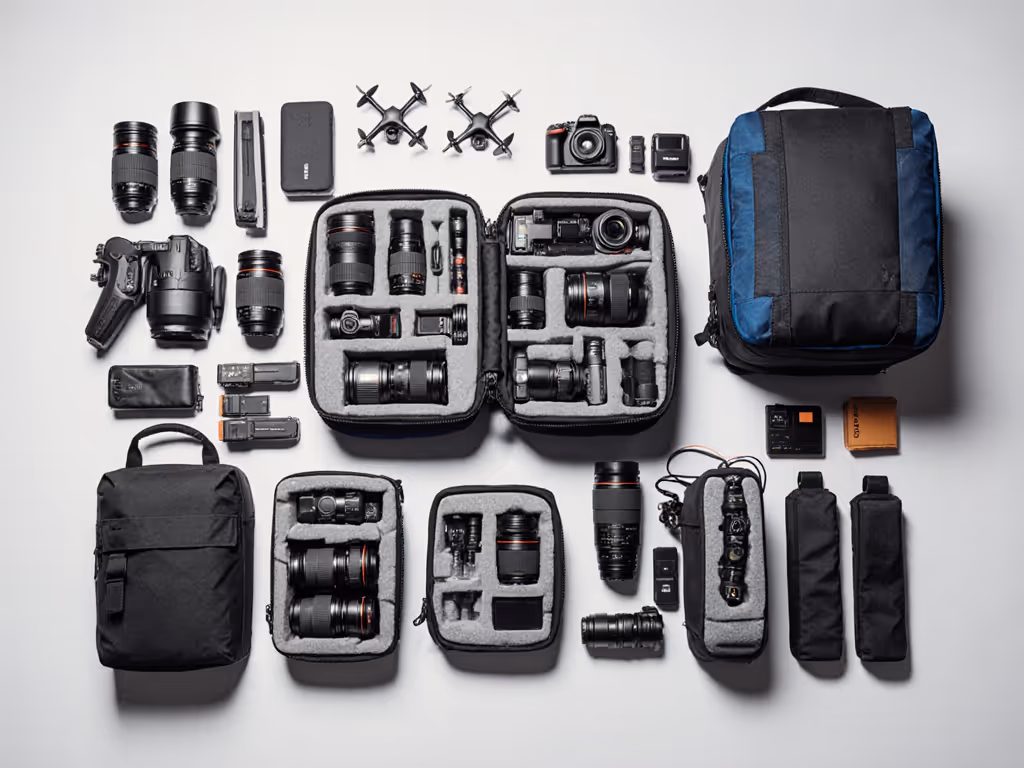
Putting heavy items at the top ("so I can reach them"). This turns your bag into a pendulum that strains your neck. Camera bag packing tips that actually work:
- Bottom layer: Long/heavy lenses (80-400mm, 70-200mm)
- Middle layer: Camera bodies + mid-range lenses
- Top layer: Filters, accessories, personal items
- Side pockets: Water bottle (on dominant side), tripod collar strap
This keeps your center of gravity close to your back, critical for all-day comfort during travel photography packing.
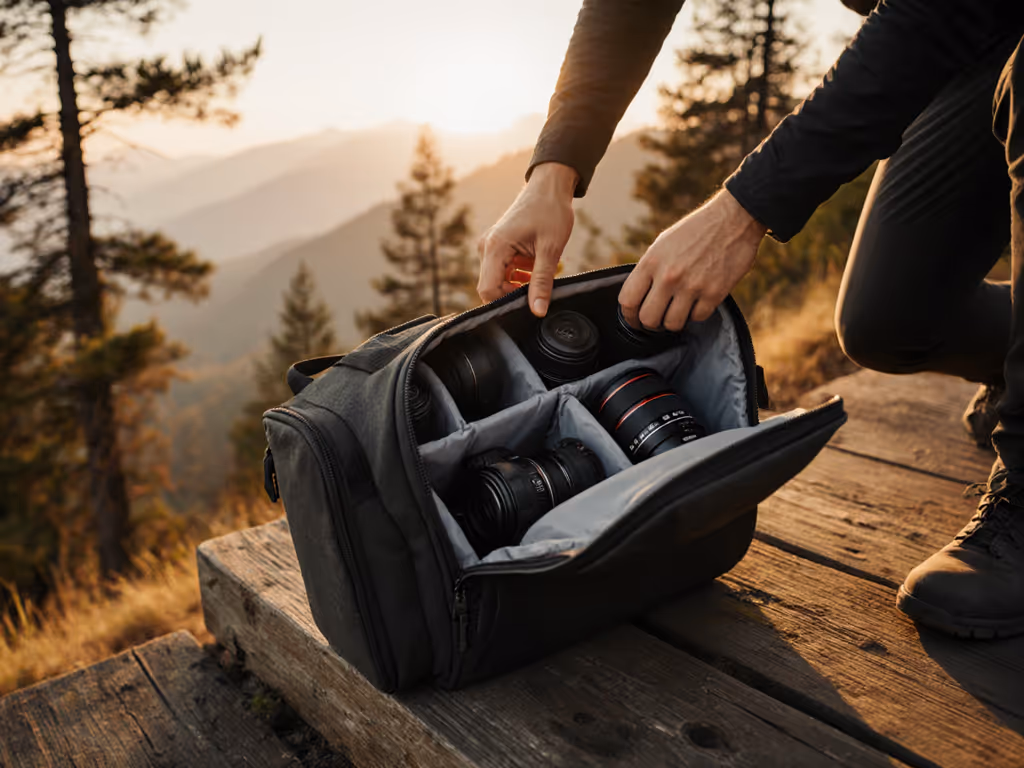
Step 3: Create Your Access Workflow
"I need to shoot fast, but side-access bags are awkward with my body type. Help!"
The "perfect access" depends on your:
- Dominant hand (left/right)
- Torso length (shorter torsos need higher side zips)
- Typical clothing (winter coats vs. summer tees)
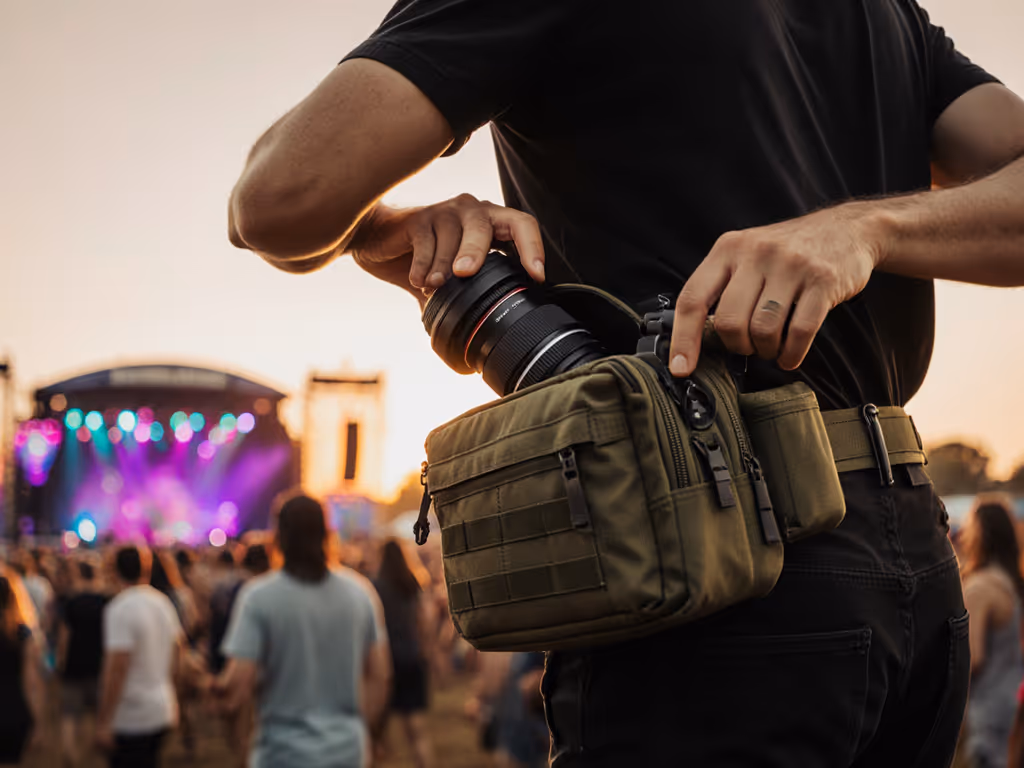
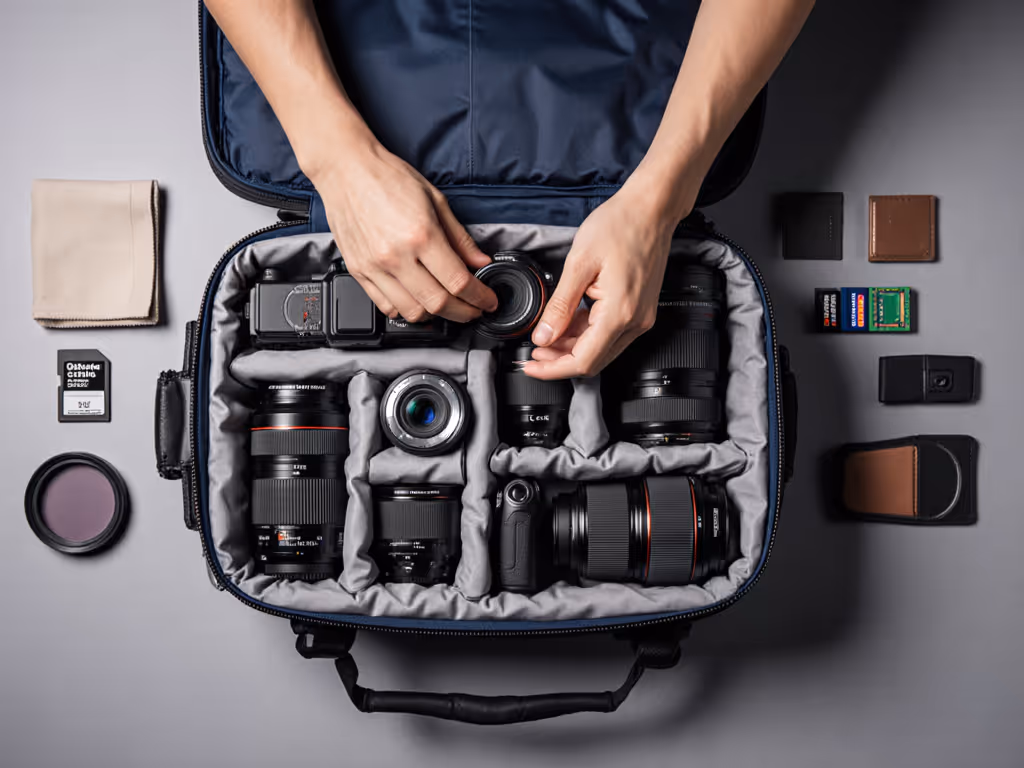
Try this access drill:
- Set a timer for 10 seconds
- Practice "grab and shoot" with your most-used lens
- If you can't get camera + lens in hand within 5 seconds, reorganize
Pro tip: Store your primary lens mounted on the camera. Only detach for long-term storage. That extra 3 seconds matters when golden hour is fading.
"How do I organize for mixed photo/video kits without constant reconfiguring?"
Build flexibility into your photography gear organization:
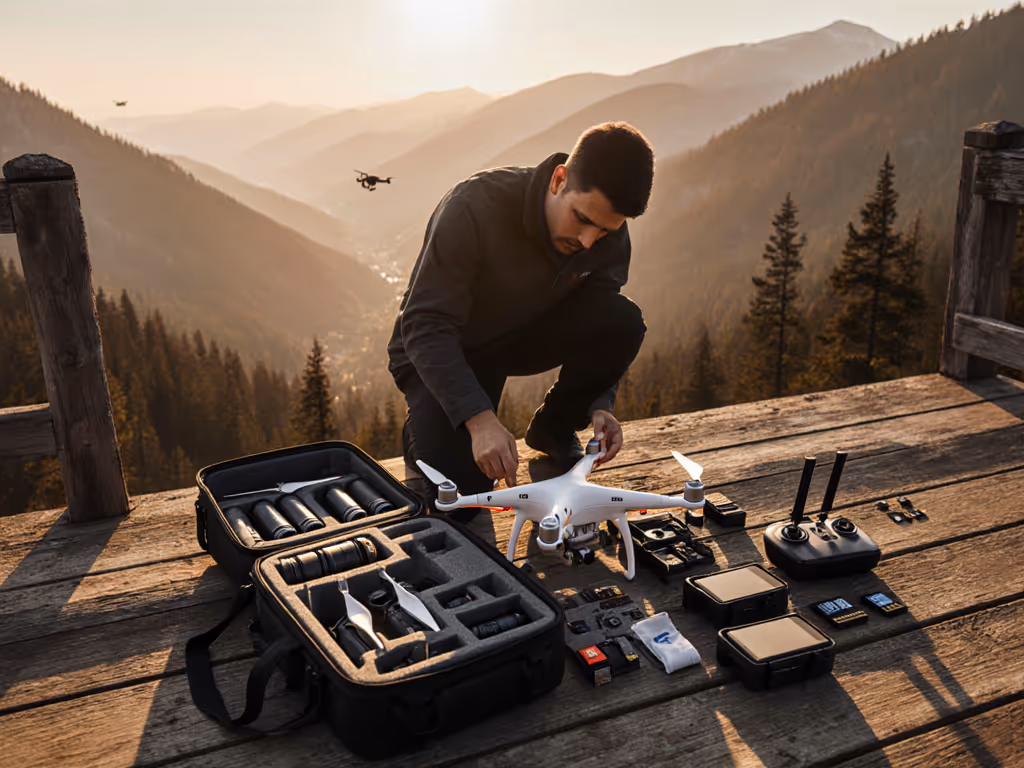
- Dedicated drone slot: Use a trapdoor divider (stores controller under drone)
- Audio zone: Keep mic + recorder in one padded pouch
- Universal pockets: Reserve one compartment for "swappable" items (grip, speedlight, gimbal)
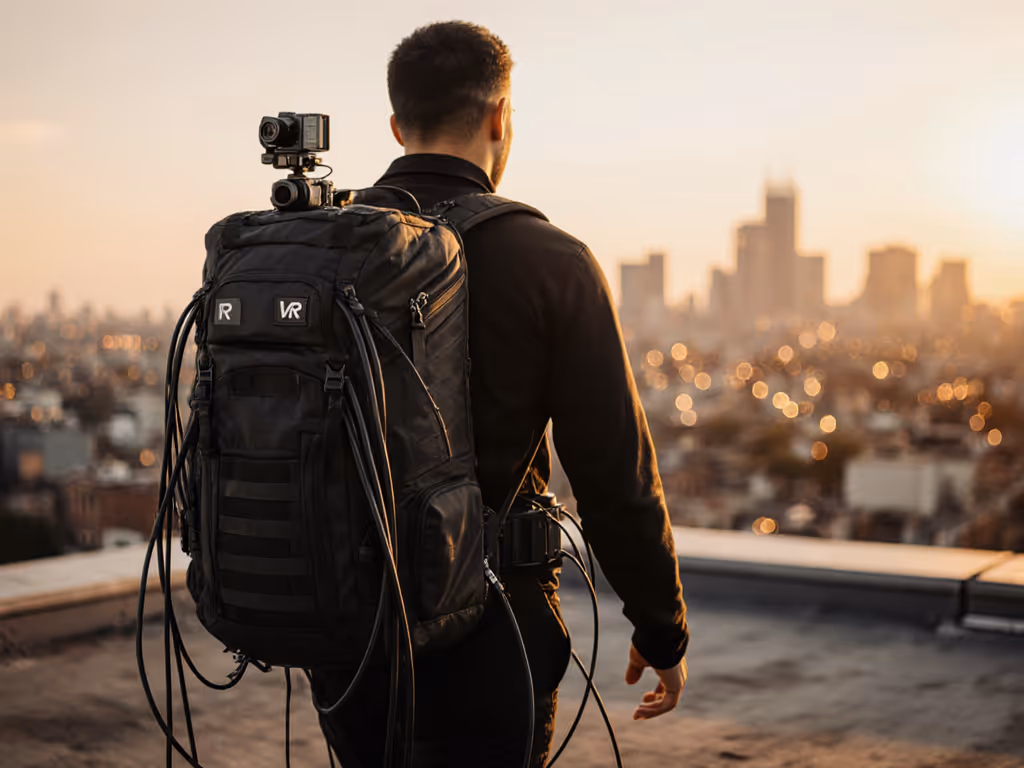
Step 4: Future-Proof Your Setup
"I keep buying new bags as my gear grows. How do I avoid this?"
Your first bag shouldn't be your last, just your foundation. Think in upgrade paths, not replacements:
| Current Kit | Upgrade Path | Future-Proofing Tip |
|---|---|---|
| 1 body + 2 lenses | Add modular side pouch | Choose bags with MOLLE/webbing on sides |
| Photo only | Integrate small gimbal | Reserve 15% of capacity for video gear |
| Urban shoots | Prepare for travel | Ensure carry-on compliance with your airline |
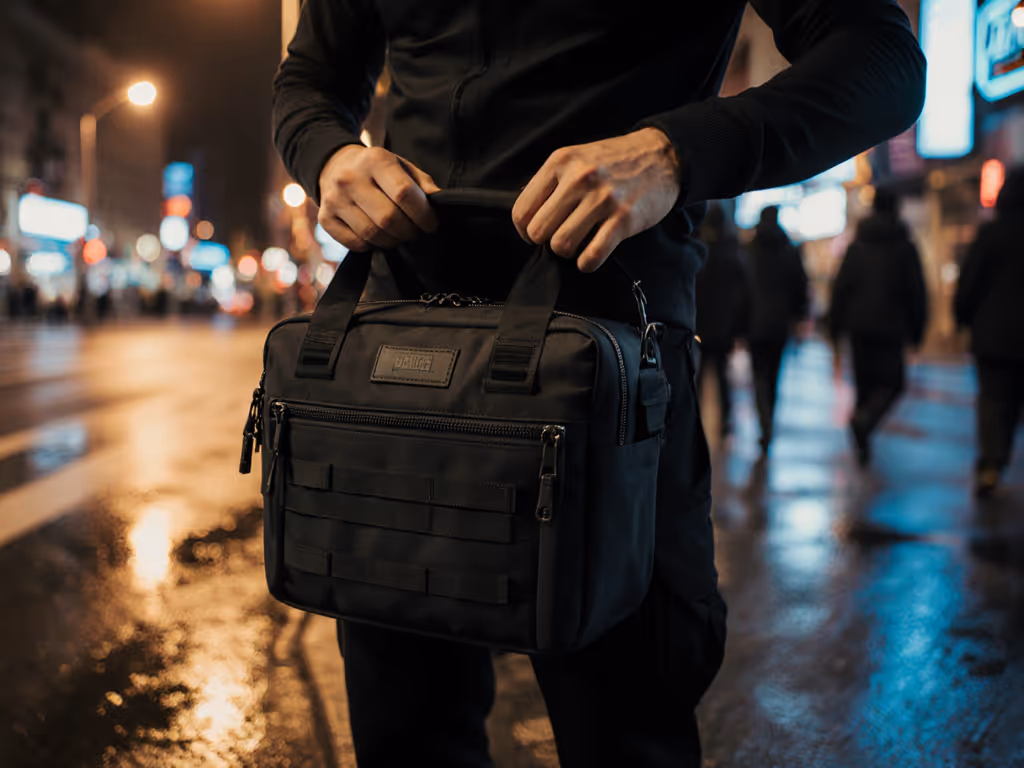
Start small, fit right, build the system methodically. I now use a 2-bag system: one minimalist backpack for daily work, one expandable sling for secondary gear. Each upgrade felt intentional, not reactive. For help choosing an internal layout, see our modular vs fixed compartments guide for access and comfort trade-offs.
"What's the most overlooked aspect of efficient camera storage?"
Air space. Leave 20-30% of your bag empty. This:
- Allows for quick gear swaps
- Prevents overstuffing (which damages zippers)
- Creates room for 'found' moments (like that street art you didn't plan to shoot)
That empty pocket saved my shoot last month when I spotted a perfect blue hour scene, but only had room because I'd edited my kit down to essentials.
Step 5: Maintain Your System
"How often should I reorganize my bag?"
After every 3 shoots, or immediately if you answer "yes" to any of these:
- Did I carry something I didn't use?
- Did I waste time searching for one item?
- Did my bag feel unbalanced during movement?
"What's your #1 rule for sustainable organization?"
If it doesn't have a home, it doesn't get packed. This simple rule prevents the "just in case" clutter that turns a good camera bag into a gear graveyard.
Start small, fit right, build the system methodically.
Your Next Step
Organization isn't about perfection, it's about creating reliable rhythms so your bag disappears into your workflow. When your gear lives where your instincts expect it, you're not just packing a camera bag. You're building confidence that you'll never miss the shot while fumbling for a battery.
Ready to go deeper? I've mapped out a free body-type assessment tool that matches bag harness geometry to your specific frame (no more guessing if straps will fit). It also includes a scenario-based packing checklist that cuts your pre-shoot prep time in half. [Explore the system builder tool], designed for real bodies, real gear, and the moments that matter most.
Related Articles