Accessible Camera Bags: Make Every Shot Inevitable
By Yuki Tanaka • 19th Mar
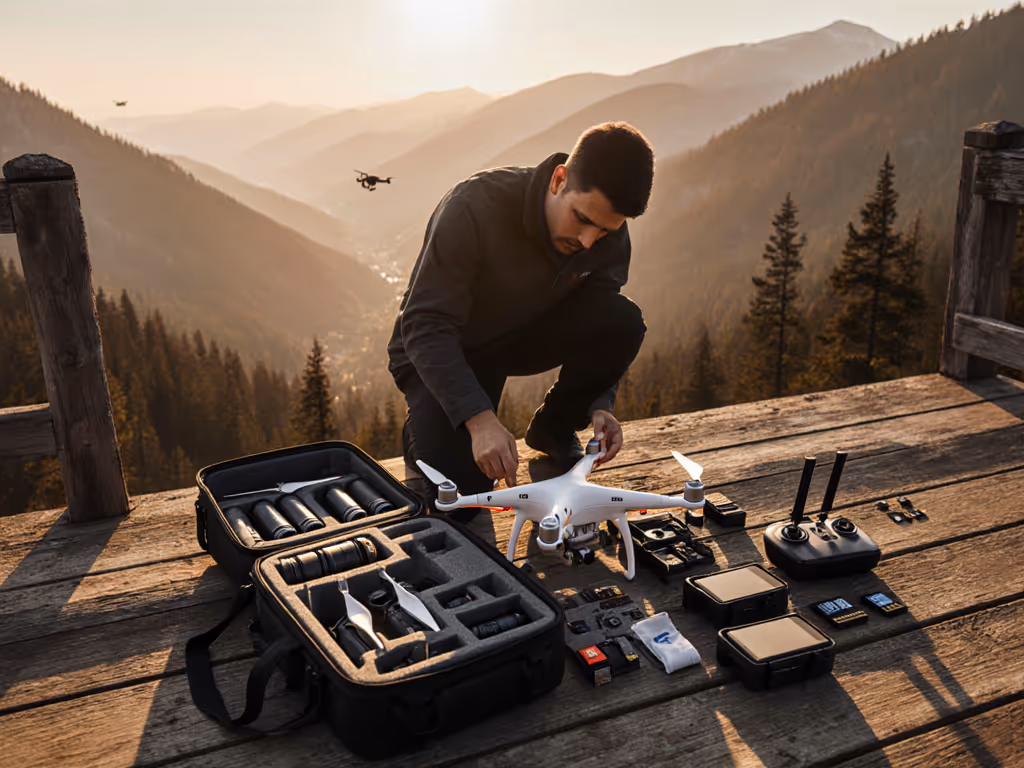
A good camera bag isn't a luxury; it's a load-bearing workflow system that keeps gear ready and your body pain-free across 8-, 10-, or 12-hour shoots. The right accessible photography gear adapts to your body, your kit, and your route, turning setup and transitions into silent, measured pulls instead of scrambles that cost money and reputation. What separates a bag that works from one that fails is methodical fit testing against your body, your typical loadout, and the real moments you need to capture.
Step 1: Measure Your Baseline: Torso Length, Shoulder Width, and Pain History
Camera bags fail silently. They fit perfectly on the shelf, but on a six-hour run-and-gun, they channel weight to your neck, shift sideways under load, or force you into an awkward reach that compounds an old shoulder injury. Before evaluating a single bag, gather three data points. For a deeper dive into fit and load distribution, read our ergonomics guide.
Measure your torso length: Stand upright. Measure from the top of your shoulder (acromion process) to your hip crest. Most adjustable harnesses accommodate 16-22 inches; if you sit outside this range, you need purpose-built geometry or a custom strap system. Women with shorter torsos and men with longer frames frequently face this mismatch.
Record your typical loaded weight: Weigh your shooting kit as you actually use it (two camera bodies, three lenses, spare batteries, audio recorder, and support gear). Note this in pounds and kilograms. Most bags are rated in liters (a volume claim), not by how much weight-per-inch-of-strap they can distribute. A 30L bag marketed for professionals may choke when loaded to 25-28 pounds if the hip belt is narrow or the shoulder padding is thin.
Document any back, shoulder, or neck issues: Previous injury patterns shape your access strategy and strap tolerance. If you have limited mobility on one side, a bag that demands two-handed access or forces rotation will add pain to every transition.
Step 2: Map Your Scenarios and Define "Access"
Access isn't one thing. It's scenario-specific, and mismatched access geometry wastes seconds and causes muscle strain.
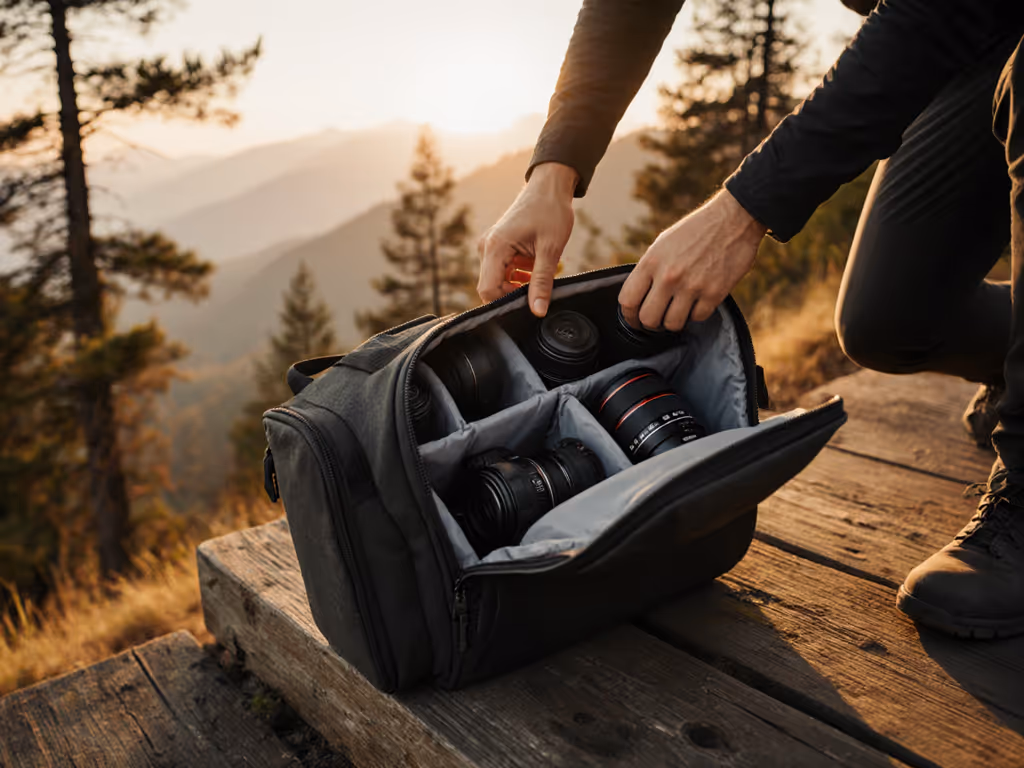
Scenario 1: Stationary shoot (studio, event venue, controlled environment). Your bag stays on a table or bench. Priority is organized compartments, not speed-to-hand. Rear-access and side-zippered designs are luxuries here; you need modularity and clear zones.
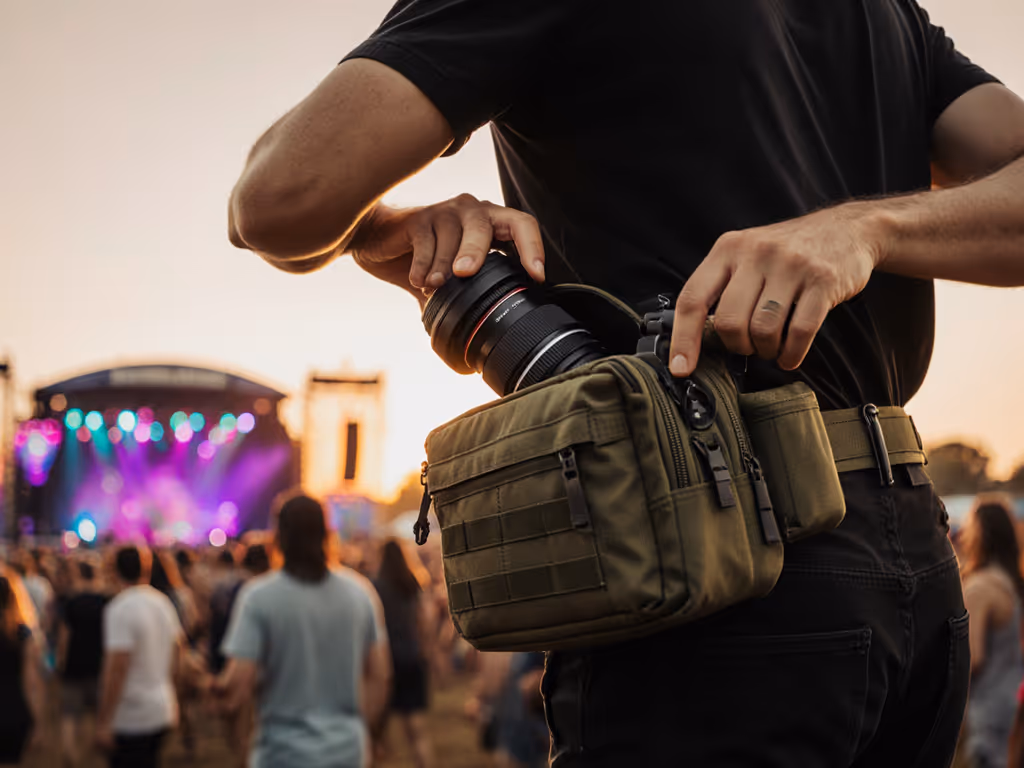
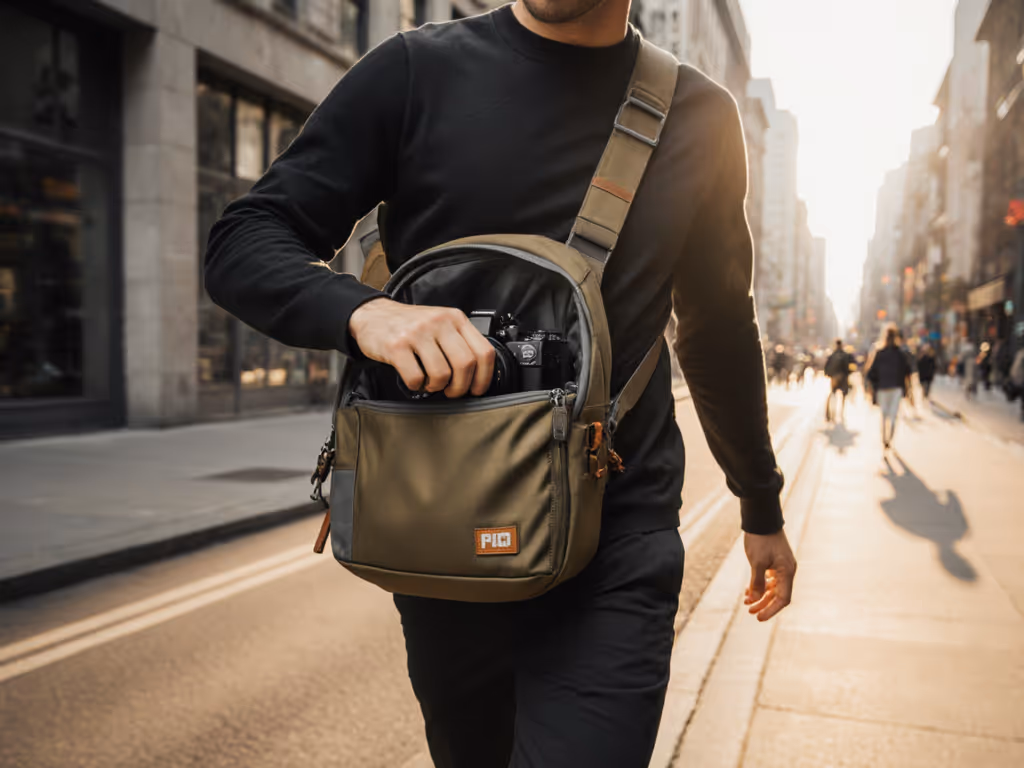
Scenario 2: Walking route (street, travel, multistop coverage). Bag stays on your shoulder or back. You'll swap lenses and check battery mid-walk. Priority is one-handed camera bag access with quick, quiet pulls (no flipping the whole pack around, no wrangling a clamshell zipper while standing and filming). Bags with top-access or dual side zippers excel here; so do rear-access designs that let you draw a camera without lowering the pack.
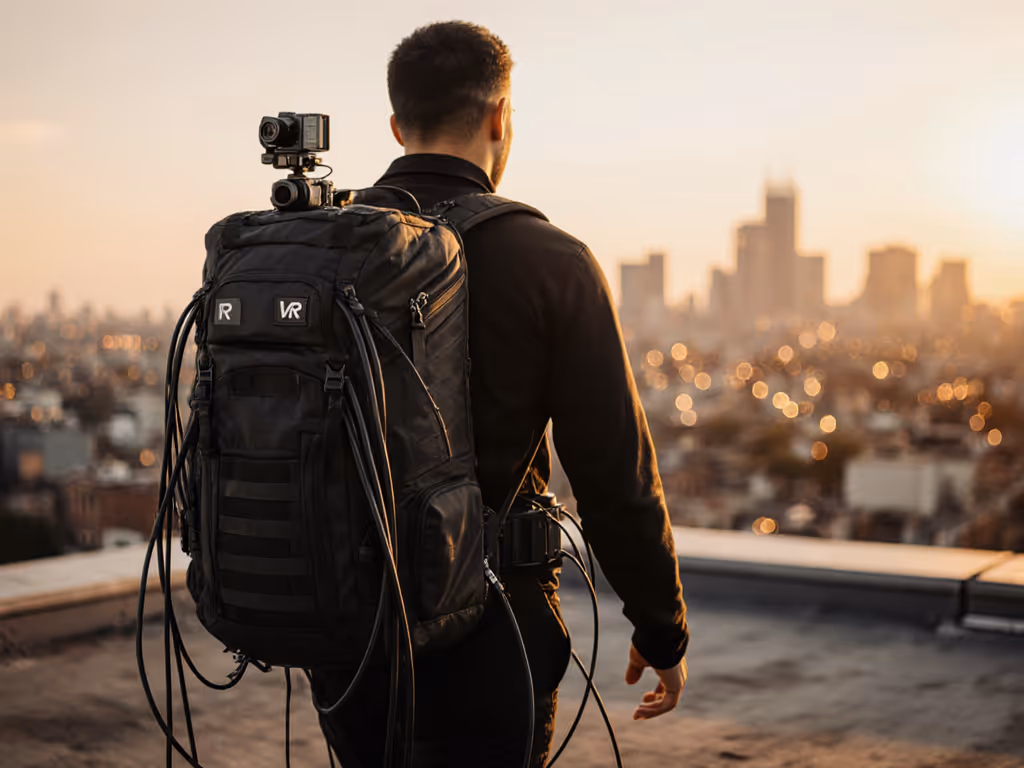
Scenario 3: Active movement (climbing, cycling, gimbal work, low-profile shooting). Your bag must not shift, rattle, or block your limbs. Priority is stable load-carry with no external straps flapping, and compartments that can be accessed while the bag is still worn or seated nearby without full re-opening.
Once you've named your top two or three scenarios, you'll recognize which access pattern matters most. If you're torn between bag styles, our sling vs backpack speed test shows which design gets you to the shot faster. This is where time-to-shot rules; everything else supports the next frame.
Step 3: Evaluate Strap Geometry Against Your Body
Hip belts and shoulder harnesses are the difference between a bag that floats on you and one that becomes part of your movement.
Hip belt width and taper matter. A hip belt narrower than 2.5 inches creates pressure points on narrower hips; one wider than 4 inches shifts load backward if your torso is short. If the belt tapers sharply at the sides, it can dig into your ribs under load. Sit with the bag loaded to 20+ pounds and walk a full block. After 5 minutes, you should feel even pressure across your hips and lower back, not a tight band or sliding.
Shoulder strap angle is critical for smaller frames and broader shoulders. Straps that descend too steeply toward the center can pinch your neck or collapse onto your shoulder joint if you have a narrower frame. Look for adjustable strap geometry or bags explicitly designed for varied torso lengths. The strap should sit on the flat part of your shoulder, not ride up your neck or slip off the edge.
Padding density and material composition. Cheap foam breaks down within months. Look for at least 0.5-inch contoured padding on hip belts and 0.75-inch on shoulder straps. Breathable mesh backing on hip belts reduces sweat buildup on 10-hour shoots in warm climates, a detail often overlooked but critical for all-day comfort.
Many professionals with back or shoulder history skip bags designed for "average" frames and instead choose modular chest-strap or sling systems that distribute load asymmetrically, reducing neck pressure. This isn't compromise; it's adapting the load-carry method to your body's real geometry.
Step 4: Verify Quick-Access Points and Test Silence
Test zipper access under load. Many bags feature top-loading or side-loading zippers for quick reach (often touted as "accessibility features"). But if the zipper lacks smooth glide or requires two hands to open while wearing the bag, it adds friction and noise. Bags with 270-degree wraparound zippers or dual side-access zippers reduce the need to reposition the pack.
Practice silent extractions. Before buying, ask the retailer or borrow a demo bag for a trial shift. Can you draw your camera with one hand, in under 10 seconds, without the bag rotating or requiring you to stabilize it with your other hand? If not, the bag's access design doesn't match your body or scenario.
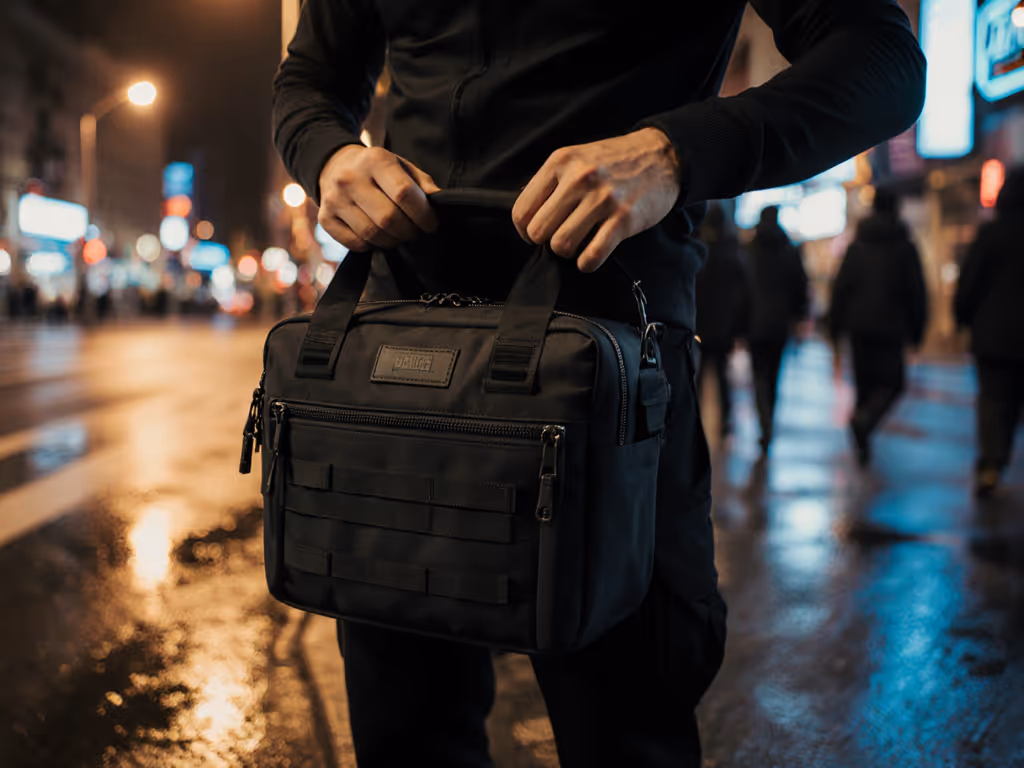
Listen to the closure. Zippers that stick or rattle, Velcro that tears loudly, and external compression straps that snap into place are liabilities on run-and-gun or documentary shoots. I learned this during a corporate live stream when a missed battery swap cascaded into a minute offline because my spares were buried deep. I rebuilt the bag around task zones and rehearsed silent pulls. On the next show, swaps hit under ten seconds, audio stayed clean, and nobody noticed the scramble. The difference was simple: compartments mapped to hand memory, magnets instead of Velcro, and a top-access door that opened without noise.
Design your own preflight ritual. Label or color-code compartments. Do a dry-run swap of your most-used kit (battery, lens cap, memory card) three times with eyes closed. That's your baseline.
Step 5: Test Load Distribution Over Distance
Comfort under static load (5 minutes in a shop) is not comfort under motion (90 minutes of walking and shooting).
Load the bag to your typical weight. Fill it with your kit or equivalent sandbags. Put it on in the store, walk around for 10 minutes, then sit and rest for 2 minutes while loaded. After you stand and move again, does the bag sit where it did, or has it shifted? Does your shoulder or hip feel a pressure point that wasn't there at minute 3?
Check for strap slippage. On broader shoulders or with synthetic fabrics, straps can slide outward as you move. A well-fitted bag should hold its position even as you twist your torso or raise an arm to frame a shot. Removable or rotating chest straps, if present, should lock the load in place without restricting breath or arm movement.
Assess breathability on the back panel. Bags with dense, unvented back panels can trap sweat on warm days and create hotspots. Mesh-backed designs with ventilation channels cost a bit more but extend all-day comfort by 2-3 hours in high-heat environments.
Step 6: Verify Weather and Impact Protection
Disability-friendly camera straps and modular systems mean nothing if rain ruins your camera during a critical shoot.
Test rain cover deployment in-store (if the bag includes one). For verified storm performance across brands, see our waterproof camera bag rain tests. A rain cover should unfold and seat fully in under 15 seconds without folding back on itself or blocking access ports. Bags with integrated weatherproof shells (100% sealed, not PU or DWR coatings that degrade) offer better durability than external covers. Check that zippers have drainage ports or gaskets to prevent water ingress at seams.
Inspect corner protection. A drop test isn't feasible in a retail setting, but inspect the bottom and four corners for reinforced fabric, padding, or raised feet. Rubberized corner bumpers reduce impact shock; padded inserts add cost but matter if you're hopping curbs on a bike or climbing.
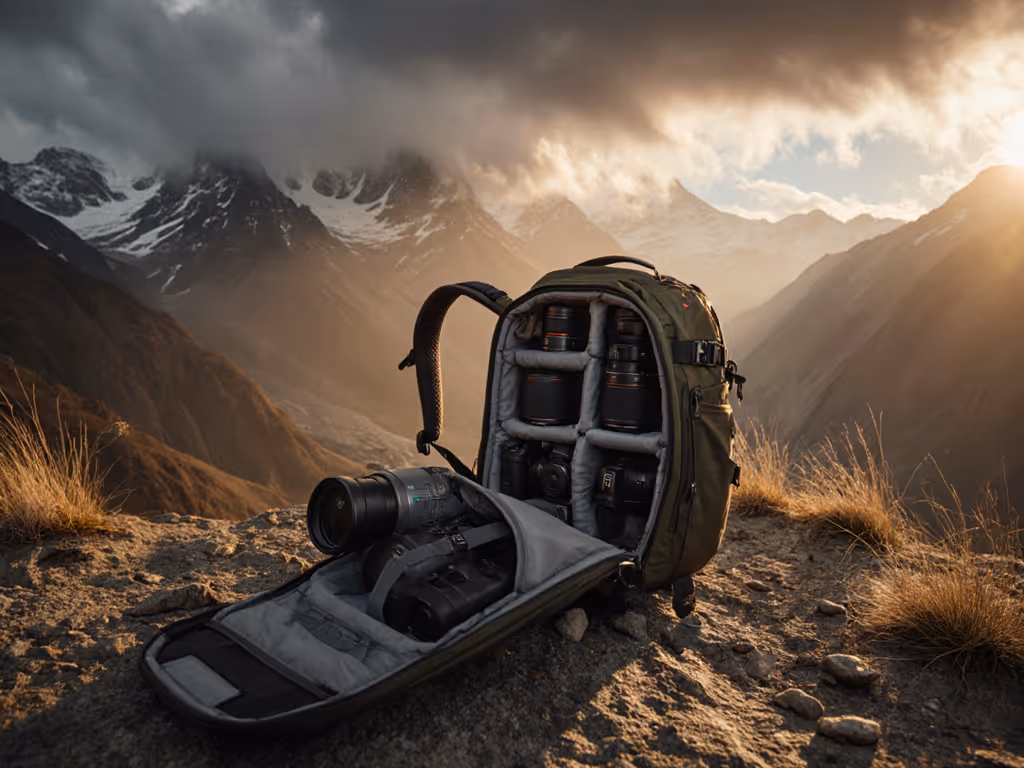
Test interior foam and divider durability. Cheap foam compresses into a lumpy mat within a year. Quality inserts should maintain structure through 50+ insertions and extractions. Magnetic or hook-and-loop dividers that adjust quickly reduce the friction of reconfiguring between photo and video loads.
Step 7: Build Your Preflight Checklist
Once you've committed to a bag, design a repeatable setup routine. To turn that routine into repeatable zones, follow our 5-step camera bag organization guide. This is where the system becomes predictable and ergonomic bags for limited mobility or unusual body geometry prove their worth, because every transition becomes muscle memory, not problem-solving under pressure.
Preflight checklist (2-3 minutes before shoot):
- Verify batteries are in the top-access compartment, labeled with shot duration remaining.
- Confirm all memory cards are in the right side pocket, face-forward, not jumbled.
- Lens caps are clipped to internal anchor points, not loose in the bag.
- Tripod (if carrying) is seated in the external mount, strap tightened, not swaying.
- Chest strap (if worn) is fastened and adjusted so the bag doesn't rotate when you reach for camera.
- Hip belt is snug; you can fit one finger under it without gaps or pressure points.
- Rain cover is accessible and unfurled (if weather is possible).
- Audio or power cables are coiled in the designated pocket, not tangled with straps.
- Backup gear (second body, alternate lens) is in the secondary compartment, location memorized.
Time yourself. This should take no more than 120 seconds. If it takes longer, your bag's organization doesn't match your workflow; reconfigure or swap it out.
Step 8: Adaptive Photography Equipment: Know What "Accessible" Means
Adaptive photography equipment isn't a marketing term; it's a specific category. For creators with limited mobility, pain history, or non-standard body geometry, "accessible" means:
- Strap systems that don't demand simultaneous two-handed operation or twisting.
- Compartments accessible from the front, rear, or sides without rotating the bag off your shoulder.
- Hip belts and chest straps individually removable or adjustable without tools.
- Lightweight materials that reduce cumulative fatigue when you can't shift load frequently.
- Quick-release mechanisms on external carriers (tripod, gimbal) so you can jettison weight fast if pain flares.
If you're shopping with a disability or chronic pain condition, prioritize bags with detailed strap geometry specs and seller trial periods. Many creators swap their second or third bag within the return window, a sign of poor fit, not poor character. Choose sellers with low friction on returns.
Final Verdict: The Bag as Workflow Enabler
A good camera bag does one job: it keeps your gear ready and your body pain-free so the next frame is inevitable. Selecting one requires you to know three things first: your body's measurements, your typical kit weight, and the scenarios that matter most.
Test straps under load, walk for 90 minutes, and refine your preflight routine until it's unconscious. Choose designs with quick-access geometry that matches your scenarios: rear-access if you're standing still, dual side-zippers if you're mobile, top-access if you're working from a vehicle. Verify weather seals, corner protection, and padded compartments through firsthand inspection, not spec sheets alone.
Once the bag is dialed, it becomes invisible to your workflow. Your focus returns to the shot, your movements stay smooth and quiet, and the bag earns its place in your rig (not as a fashion statement, but as the foundation that makes every shot possible).
Related Articles