Tethered VR Camera Bags: The Data-Driven Fit Guide
By Maya Osei • 2nd May
When you're managing a camera bag setup that holds a virtual reality camera organization system (especially one with tethered power, data cables, and sometimes counterbalance weights), the stakes are different. You're not just carrying glass and sensors; you're maintaining live cable runs and managing rig geometry that can't flex or shift mid-shoot. The bag itself becomes part of the capture system. If integrated power is part of your workflow, see our field-tested power bank camera bags for cable management and charging options. This is where the gap between comfortable looking bags and actually comfortable bags becomes impossible to ignore. Fit is physics; comfort is the output of load paths, and tethered VR rigs demand precision in load distribution that most mainstream designs simply don't provide.
What Makes a Tethered VR Setup Demand a Different Bag Strategy?
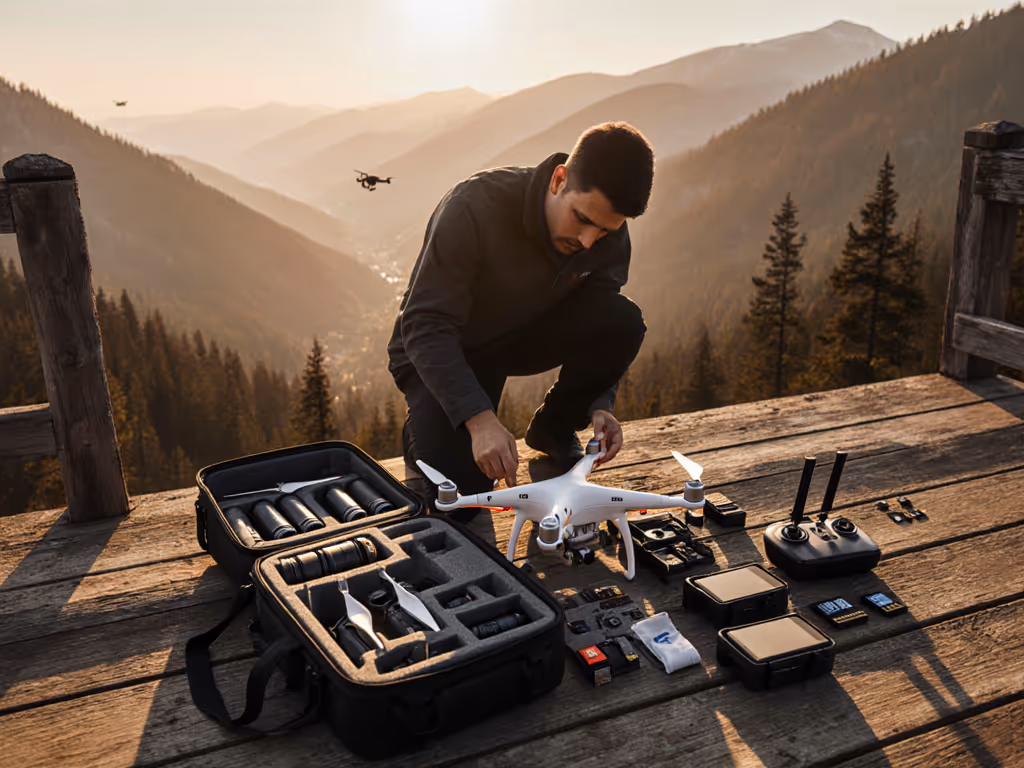
Standard 360 camera storage solutions designed for action cams or light rigs miss the real complexity. A tethered system (whether you're running a 360-degree rig on a gimbal, stabilizer arm, or drone with a live tether) introduces asymmetrical weight distribution. The camera rig itself might be five to eight pounds, but add a power pack (two to four pounds), twenty to forty feet of coaxial or power cable (another three to six pounds depending on type), remote trigger electronics, and perhaps a laptop for real-time stitching or stream monitoring. Suddenly your load is pushing fifteen to twenty pounds, and it's not a uniform block, it's distributed across compartments, with dense cable spools creating load concentration points.
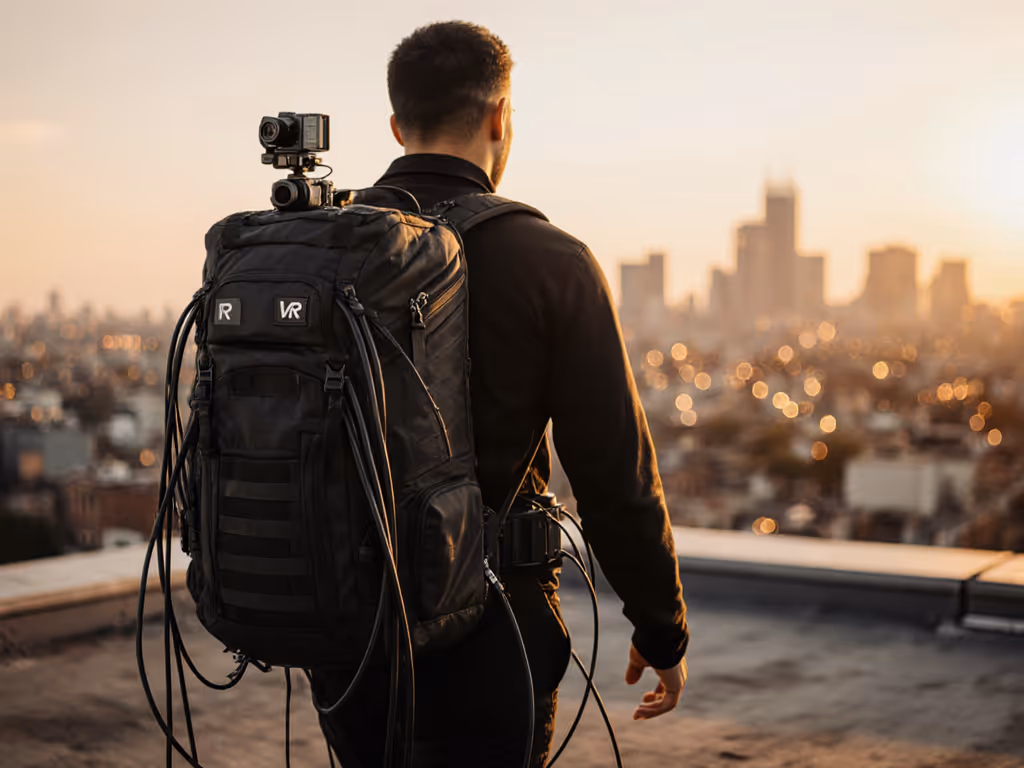
The problem I encounter constantly when pressure-mapping shoulder systems for VR content creator gear is this: creators wrap cables around existing shoulder straps or jam them into side pockets, shifting the geometry entirely. The strap that was balanced at the torso now pulls laterally. What was a thirty-minute comfort window becomes a ninety-minute burn. I've seen it trigger nerve irritation in the supraspinatus and lower trapezius (the exact bruising pattern I once discovered during a wedding doubleheader when soft webbing concentrated load on my clavicle). That day I realized something crucial: a bag that distributes weight across a curved wing and load-lifters outperformed one that simply looked sleek. That lesson is non-negotiable for tethered systems.
The Core Measurements That Determine Fit Success
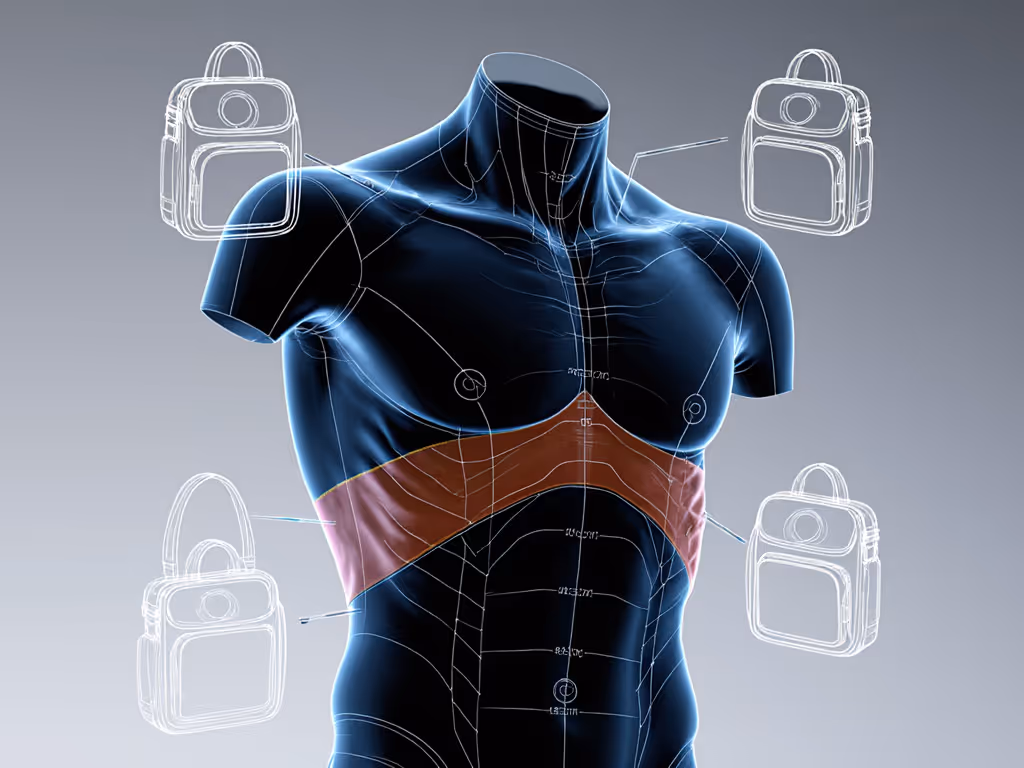
Before choosing any immersive media photography case, you need three primary measurements: torso length, shoulder width, and chest circumference. Why? Because tethered rigs need load-lifters (straps that pass from the shoulder strap down the ribcage at a thirty to forty-five degree angle), to shift load toward your hips and prevent the dreaded "strap slide" that happens when cable weight pulls the whole system upward and backward.
Torso length (measured from the base of your neck to hip bone) determines whether a standard M harness actually seats at your hips or floats mid-back. A creator with a 22-inch torso in a bag designed for a 26-inch average will have load-lifters attaching too low, losing their mechanical advantage entirely. This is where micro-adjust attachment points become critical, not as a marketing feature, but as a biomechanics necessity. For fundamentals on fit and measured weight distribution, see our camera bag ergonomics guide.
Shoulder width (biacromial distance, collarbone to collarbone) affects how strap padding must curve. Broader shoulders need wider, softer material to distribute the same load. Narrower shoulders need angled padding that sits more medially, preventing outboard drift. A narrow-shouldered creator wearing a bag designed for broad shoulders will experience chronic edge pressure on the deltoid, exactly where VR rig cables hanging at your side will amplify that problem.
Chest circumference around the xiphoid process determines whether hip belt and chest strap geometry can actually function. Too-loose chest straps don't anchor the harness; too-tight ones compress and cause thoracic outlet symptoms over hour three of a shoot.
How to Diagnose Hot Spots Before They Cost You a Day
The most reliable test is the loaded walk test. Pack your actual tethered camera system bag's load (rig, cables, power pack, safety tether, the works) into the bag. Wear it for three consecutive hours without readjustment, moving through varied terrain: stairs, inclines, side-stepping, reaching overhead to simulate rigging work. At the one-hour mark, note where you feel concentrated pressure, not general weight. At two hours, mark those zones with chalk on a fitted shirt. At three hours, photograph the marks and compare them to where the harness geometry sits.
Real hot spots appear as distinct pressure rings, often under the collarbone, across the trapezius, or medially on the ribcage where load-lifters anchor. If you see pressure marks that aren't under padding material, the geometry is wrong for your body, not just uncomfortable, but likely to progress to nerve irritation or bursitis over repeated eight to twelve hour shoots.
The data here is repeatable. The same body, the same load, in two different bags will produce measurably different pressure distributions. One will cluster pressure across a wide zone; the other will concentrate it in one or two hot spots. The clustered distribution almost always outlasts the concentrated one, this is why a fit-first approach isn't opinion, it's physics.
Cable Integration and Asymmetrical Load Management
Here's where tethered rigs expose a design flaw in most bags: they treat internal organization as independent from harness design. You add a cable organizer compartment, and it shifts weight inboard, changing how the load-lifters function. You spool cables on one side for access speed, and suddenly your left rib gets fifty percent more pressure than your right.
The solution requires 360 camera storage solutions designed with load symmetry in mind. This means:
- Separate tether pockets positioned low and medially, not high and lateral. Low placement means the cable mass falls naturally toward your center of gravity; medial placement prevents lateral shear on your shoulder joint.
- Divider walls that run horizontally, not just vertically, so cable weight spreads front-to-back rather than concentrating on one edge.
- Outer cable sleeves that don't extend above the load-lifter attachment point. Any organized cable run above that point is working against your harness geometry.
- Top-loading primary access for the camera rig, not side access. Side access with a tethered system means reaching across the cable mass, which compounds the asymmetry problem mid-shoot.
Many creators micro-adjust their cable routing empirically (moving spools, changing routing paths, redistributing tether weight) after living with a bag for a week or two. That's not lazy; that's smart. You're pressure-mapping in real time. The catch is that not all bags allow that kind of reconfiguration. Non-adjustable harnesses and fixed internal architecture make it impossible. This is why I won't recommend non-adjustable systems for tethered rigs that regularly exceed twelve pounds.
Modularity Without Compromising Load Distribution
VR content creator gear often demands rapid reconfiguration. Monday you're running a tethered 360 rig; Wednesday you're carrying two standard mirrorless cameras plus drone batteries. The bag needs to flex without losing structural integrity or harness function.
Modular systems (where cubes or pouches slot into a grid) seem ideal until you realize that adding or removing modules changes your center of gravity and how the harness distributes load. For a deeper comparison of modular vs fixed compartments, see how different layouts affect comfort and access. A half-full bag with a large air gap behaves completely differently than a full bag. The same harness geometry that works at full load will leave excess strap slack when you're running lightweight.
The fit-first solution requires:
- Adjustable compression straps that cinch the bag's profile to your load, not just for compactness but to maintain load geometry.
- Modular organization that maintains load symmetry (dividing weight port/starboard equally, not loading one side).
- Quick-release or tool-free attachment points so you can add or remove cable storage or compartments without voiding weight distribution.
This is measurable: weigh the bag at full capacity with all modules installed, then at fifty percent capacity with half the modules. The center of gravity should remain within two inches of true body center, not migrate upward or laterally. If it does, the modularity is creating an ergonomic penalty.
The Tethered Carry: External Balance and Access Speed
Tethered VR rigs often require external carry (a gimbal bracket, a second tether anchor point, or a stabilizer arm mounted to the harness frame). This is where most bags fail completely. They add a D-ring and call it external carry capacity. In reality, you need load-path engineered attachment points that route force back through the pack's primary load-bearing structure, not through thin anchor points.
Test this: clip your full rig weight to a potential external carry point and do a controlled load test. Does the rig stay centered, or does it swing outward? Does the primary bag shift or does the harness adjust its tension? If the rig swings or the bag migrates laterally, you have a balance problem that will accumulate fatigue over a four-hour shoot.
Real external carry for tethered systems requires angled attachment points (not just vertical D-rings) so you can distribute force along multiple angles. If your rig includes tripods or support arms, our tripod integration comparison tests stability and access trade-offs across mounting systems. It means the pack's frame has sufficient torsional stiffness to hold that external mass without flexing. Many lightweight or minimalist bags will actually flex under external tethered rig weight, the frame bends, your center of gravity shifts, and you're compensating with core tension to stay balanced.
Your Next Steps: Assembling a Fit-First VR Bag Kit
Measure yourself using the three-point framework: torso length, shoulder width, and chest circumference. Write them down. This is non-negotiable baseline data.
Conduct a loaded walk test with any bag you're considering. Three hours, actual load, varied terrain, pressure marks at the one-hour and two-hour points. If a retailer won't accept a return after a test carry, that's a sign the bag has fit issues they know about.
Audit cable integration in the bag's design. Are tether pockets low and medial, or high and lateral? Can you reconfigure them without removing interior panels? Does the bag allow you to test cable routing empirically?
Prioritize adjustable load-lifters and harness geometry over minimalism or weight savings. A half-pound heavier bag with proper load distribution will outlast and outperform a lighter bag with cable-induced asymmetry every single time.
Test with your actual rig, not a generic test load. Pressure distribution changes when you're managing twenty feet of cable versus a solid ten-pound weight block. Use the rig weight, the cable geometry, the real workflow.
The bag isn't the hero of your shoot, your decision-making and technique are. But fit is physics, and when you've eliminated pressure pain and asymmetrical loading from the equation, you've removed a major cognitive tax. You move faster, you stay steady, and the gear becomes invisible to your process. That's the return on a fit-first choice.
Related Articles