Drone Operator Camera Bags for Pro Aerial Kit Organization
By Maya Osei • 29th May
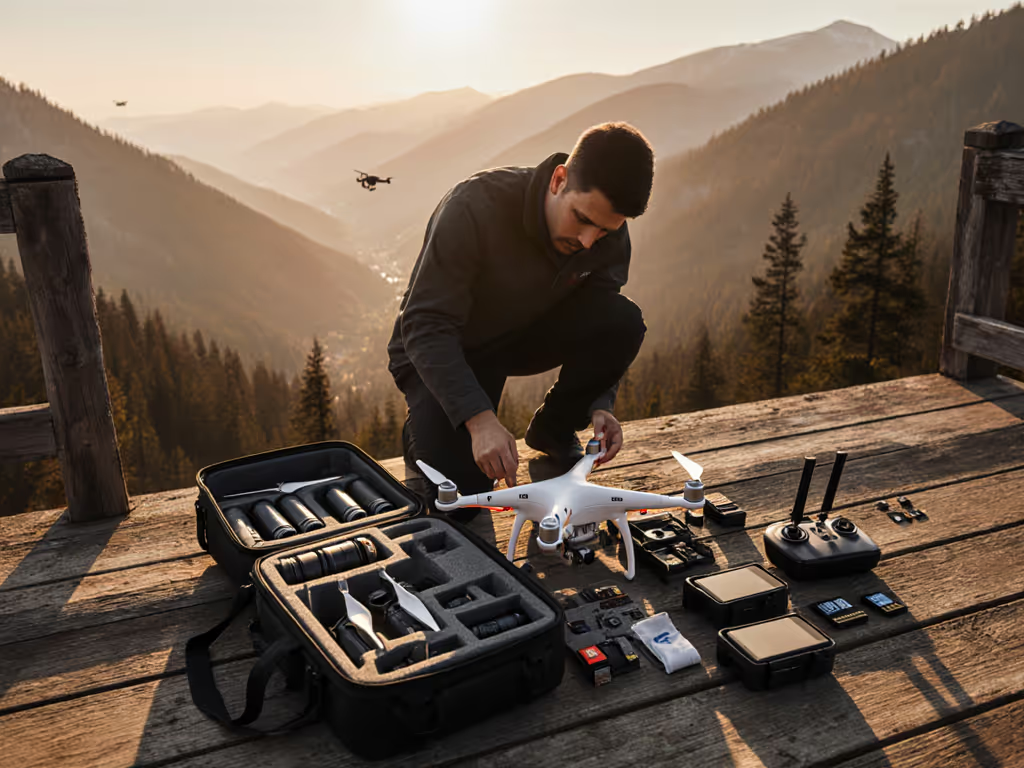
If you fly for work, drone operator camera bags are not just storage - they're part of your rig and your risk management plan for every takeoff and landing. Dialing in aerial photography drone organization means fewer missed shots, less back pain, and reduced chance of gear failure when a client is watching.
Fit is physics; comfort is the output of load paths. This FAQ is built around that idea: we'll walk through how to choose, pack, and micro-adjust a fit-first drone carry system that matches your kit, your body, and your shooting days.
FAQ: Building a Fit-First Drone Operator Camera Bag System
1. What makes drone operator camera bags different from regular camera backpacks?
At a high level, drone-focused bags are solving three extra problems beyond normal camera carry:
- Fragile, asymmetric airframes that hate torsion and crush.
- High-density, high-risk batteries that need separation, structure, and ventilation.
- Bulky controllers, props, and landing pads that wreck access if they're an afterthought.
Compared with a standard camera backpack, well-designed drone operator bags typically add:
- Rigid or semi-rigid shells to prevent prop arms and gimbals from being crushed in transit.
- Deeper, shaped cavities that fit drones nose-down or on their side without loading the gimbal.
- Modular blocks for batteries and props that can be lifted out and staged at the launch site.
- Dedicated controller storage with antenna clearance and room for a tablet/phone harness.
If a bag treats the drone like "just another camera body," it will usually fail you on impact protection, packing speed, or both. For a deeper dive into drone-specific carry features and safety considerations, see our drone photography bags guide.
2. How do I size a bag for single- vs multi-drone transport cases?
Instead of starting from liters, start from named loadouts and test loads:
Step 1 - Define your heaviest likely loadout. For example:
- Single-drone wedding kit: Mavic-class drone + 4-6 batteries + controller + 1 hybrid body + 2 lenses + audio pouch.
- Multi-drone commercial kit: 2 airframes (primary + backup), 8-12 batteries, dual controllers, monitor, tools.
Step 2 - Weigh it.
- Put the entire kit (including water, jacket, laptop, tools) in a cheap duffel and weigh it on a luggage scale.
- Pros routinely land between 8-12 kg for single-drone hybrid kits and 12-16 kg for multi-drone transport cases.
Step 3 - Match volume to layout, not just capacity.
Look for:
- A main cavity that allows the drone to sit gimbal neutral (nothing resting on the gimbal or camera).
- Enough depth for battery blocks to stand upright without stacking more than two high.
- A separate, padded zone for laptop/tablet that does not compress the drone cavity when full.
If your multi-drone kit needs more than about 16 kg to carry safely, I strongly recommend a two-bag system: one bag for airframes and power, one for ground cameras and audio. Beyond that load, even good harnesses struggle to keep pressure off your shoulders for 8-12 hours.
3. How should I organize the interior for aerial photography field organization?
Think in workflows, not in cubes:
- Launch block: drone, props, landing pad, batteries, controller.
- Camera block: bodies, lenses, filters.
- Support block: tools, ND sets, SSDs, audio, cables.
Aim for this rule: every workflow block moves as a unit from bag to field.
Practical setup:
- Place the drone and primary batteries closest to the main opening zipper for fastest setup.
- Stage battery safety camera bags or pouches (fire-retardant or at least structured) so that charged, used, and empty packs are clearly separated.
- Keep props and tools in a distinct, bright-colored pouch so you can visually confirm they're packed before leaving a site.
- Store filters and cards in slim organizers on the "door" panel, not in deep wells where they vanish under larger gear.
A clean interior layout should let you unpack to "ready to arm" in under 90 seconds and repack in under 3 minutes without stacking loose items.
Time these cycles at home with a stopwatch. If you can't hit those times after practice, change the layout.
4. What's the safest way to handle battery storage in the bag?
High-energy LiPo or Li-ion packs deserve their own logic.
For battery safety camera bags and pouches, aim for:
- Segregation: charged vs used battery positions are physically separated (different row, different pouch, or opposite sides of the bag).
- Structure: semi-rigid walls or dividers so impacts don't concentrate on a single pack.
- Orientation: consistent orientation (e.g., contacts up) so a quick glance tells you if anything's exposed or out of place.
On planes and in vehicles:
- Keep drone batteries in cabin, not checked luggage when flying, in compliance with airline and TSA/CAA rules.
- Cap or tape exposed terminals where possible.
- Avoid stuffing batteries in hip-belt pockets or thin top lids where any fall could mean a direct impact.
In the field, treat battery management as part of your aerial photography field organization checklist: charged row, in-use row (on a small towel or mat), and "done for the day" row.
5. What matters most for drone controller storage and access?
Controllers are awkward rectangles with joysticks and antennas that hate pressure.
Good drone controller storage should:
- Let the controller sit face-up, with nothing pressing directly on sticks or wheels.
- Provide at least one finger-width of foam or air gap above the tallest control.
- Reserve space for attached devices (phone/tablet mount or monitor) without requiring you to disassemble everything between locations.
Field tip:
- If you fly frequently in cold or wet conditions, prioritize a pocket where you can leave the device tethered and just flip the pocket open, power on, and fly.
- If your bag forces you to re-cable the controller on every move, your time-to-first-flight will always lag.
6. How should weight be distributed to avoid back and shoulder pain?
Here's where my biomechanics bias shows.
For most bodies and routes:
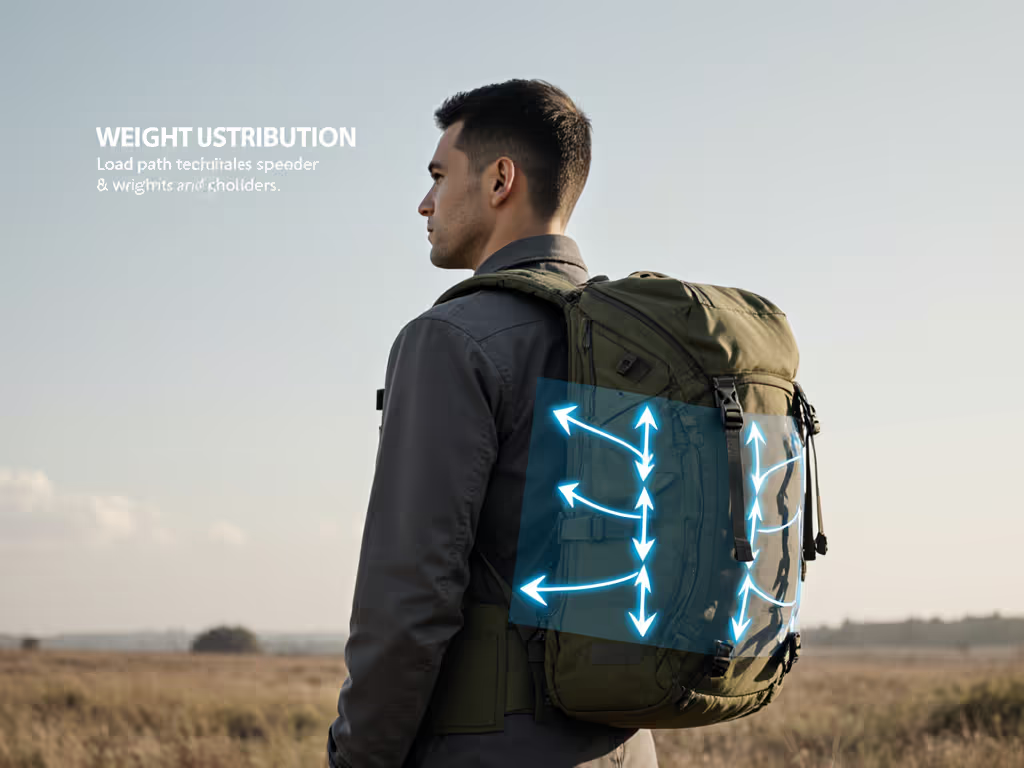
- Put the densest items (batteries, lenses) high and close to your spine.
- Keep the drone airframe centered in the vertical mid-zone, not sagging low where it pulls on your lower back.
- Use side pockets for light but bulky items (jacket, landing pad) to avoid lateral imbalance.
Harness fit steps for a backpack-style drone operator bag:
- Set torso length so the hip belt sits on the iliac crest (top of your hip bones), not your waist or stomach.
- Tighten hip belt first until roughly 60-70% of the weight feels supported there, not on your shoulders.
- Snug shoulder straps just enough that the bag doesn't sway; avoid yanking them until the padding crushes your clavicles.
- Fine-tune load lifters (if available) so the top of the bag tilts slightly toward your body without pulling the shoulder straps into your neck.
I once came home from a double wedding weekend with a bruise under my clavicle from a "soft" webbing strap and no load lifters; the next week I started pressure-mapping shoulders and hips with sensor mats and chalk. Since then, bags with structured frames and real load transfer consistently win my tests.
If your shoulders are burning within 20 minutes under a realistic test load, the load path is wrong, no amount of extra padding will fix that. If you need a refresher on harness fit and load transfer basics, read our camera bag ergonomics guide.
7. How can I make one setup work for different body types on the team?
Many teams share multi-drone transport cases and backpacks across people with very different torsos and chests.
Look for harnesses that offer:
- Real torso-length adjustment, not just strap slack.
- Moveable sternum straps that slide high/low enough to clear fuller chests or thick winter layers.
- Removable or stowable hip belts so smaller operators can avoid a belt that cuts across ribs.
Set a shared fit protocol:
- Each operator notes their torso setting (e.g., "second mark from top") and hip-belt hole in a shared doc.
- Before a shoot, whoever is flying first sets the harness to their numbers; at handoff, the next operator adjusts to theirs.
It's a micro-adjust routine that takes 30-40 seconds but can prevent hours of discomfort over a season.
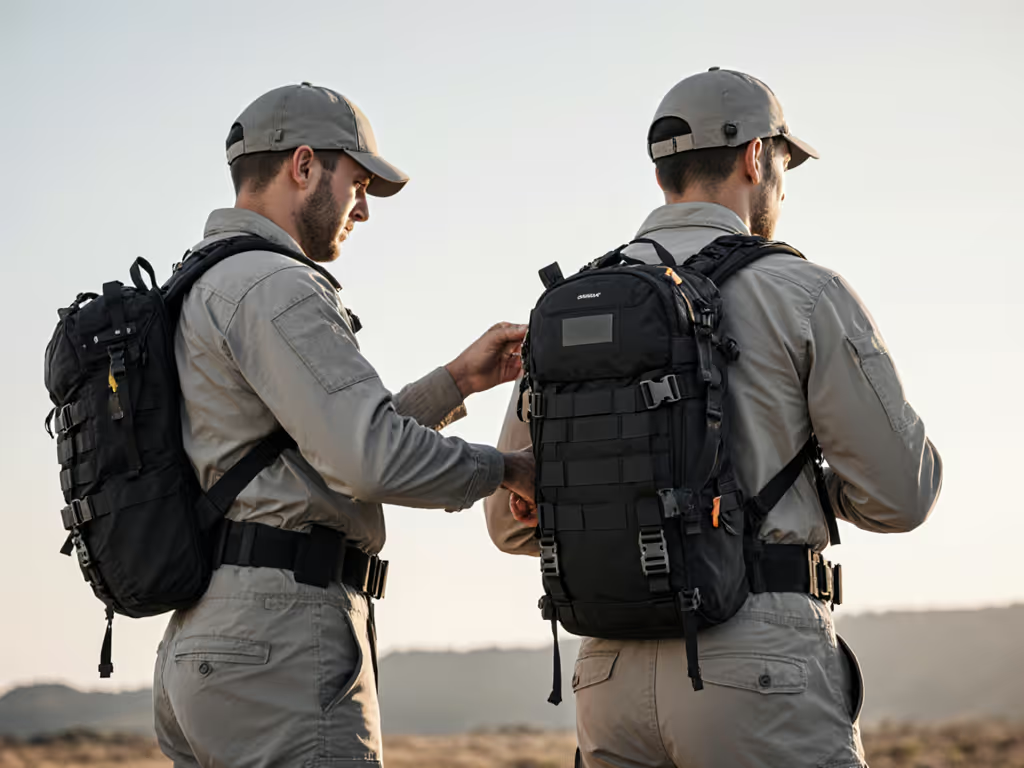
8. One-bag vs two-bag: how do I decide for aerial photography drone organization?
Use route length, role, and weight as your decision variables:
Choose one-bag (everything in a single backpack or roller) when: Considering wheeled options for heavier kits? Start with our professional rolling camera bags comparison.
- You're solo or with a small crew.
- Total working kit is under ~12 kg.
- Access points are straightforward (weddings, corporate interiors, small exteriors).
Choose a two-bag system when:
- You're splitting roles (dedicated pilot vs ground camera op).
- You're above ~14-16 kg total or running two drones plus full camera kit.
- You expect long approaches, technical terrain, or frequent sprints between positions.
Typical split:
- Drone pack: airframes, batteries, controllers, landing gear, tools, RF-critical items.
- Camera bag or sling: bodies, lenses, audio, personal items.
This division keeps flight-critical gear in one mental bucket and reduces the chance you'll leave a controller in the trunk while chasing B-roll.
9. What tests should I run at home before trusting a new drone operator bag on a job?
Treat bag testing like you would a new airframe firmware.
Test 1 - Load and walk (20 minutes).
- Pack your heaviest realistic kit.
- Walk stairs, curbs, and a few short sprints.
- Note where you feel hotspots: top of shoulders, lower back, hips, or chest.
If you feel numbness, tingling, or sharp pressure, change the harness settings and repeat. If you still feel it, this may not be a fit-first match for your body.
Test 2 - Time-to-flight drill.
- Start with the bag closed and on your back.
- Time how long it takes to: unshoulder, open, deploy landing pad, build drone (if needed), power controller, and be ready to arm.
- Repeat three times. Aim for consistent times; big variation means layout confusion.
Test 3 - Tear-down and re-pack.
- Simulate a rushed wrap: you have 3-4 minutes to pack and move.
- Pay attention to where loose items accumulate; those zones need better pouches or structure.
Test 4 - Drop and corner protection (light version).
- With dummy weight (books, towels, water bottles - not your real drone), gently drop the packed bag from knee height on the base and a corner onto carpet or grass.
- Check how much internal motion there is and where the impact energy traveled.
This isn't a lab test, but it quickly shows whether dividers and shells are doing meaningful work.
Your Next Step: A 3-Part Fit-First Field Drill
Instead of buying another bag on specs alone, run this fit-first drill with your current or candidate drone operator camera bags:
- Map your kit.
- Write down your three most common loadouts (wedding, corporate, commercial, etc.).
- For each, list every item that must fly vs nice-to-have extras.
- Build a timed layout.
- Pack your primary loadout and film yourself doing a launch and tear-down cycle.
- Adjust interior dividers until you can reliably hit your target times (e.g., <90 seconds to ready-to-arm, <3 minutes to packed and walking).
- Dial in the harness for your body.
- Load the bag to a realistic working weight.
- Spend 20 minutes walking your typical route (stairs, sidewalks, maybe a bike ride), making small harness micro-adjustments until the load feels even and pain-free.
If, after these tests, the bag still creates hotspots or slows your workflow, that's valuable data, not failure. Use what you've learned about load paths, battery management, and controller access to choose the next bag as part of a system, not as another experiment for the bag graveyard.
Related Articles