Panoramic Bags Compared: Multi-Camera Setups
By Maya Osei • 28th Apr
Multi-camera panoramic photography and 360-degree capture workflows demand something different from standard camera bags. You're balancing multiple bodies, specialized rigs, and auxiliary gear, often with tight time windows between setups. The bag isn't just storage; it's part of your rig architecture. Here's what matters when selecting gear transport for panoramic work, and how to avoid the costly trial-and-error cycle.
What Is a Panoramic Photography Workflow, and Why Does Bag Design Matter?
Panoramic capture involves mounting multiple cameras on a common platform or panoramic head, then synchronizing exposures or video feeds to stitch or blend into a continuous wide or spherical image. Some workflows use a single body on a rotating head; others deploy 2-6 cameras simultaneously. Your bag must protect each component, organize your multi-camera rig so setup time is predictable, and distribute weight across your body in a way that doesn't introduce imbalance or fatigue.
The load path (how force travels from the bag's attachment points through your shoulders, spine, and hips) becomes critical when you're carrying a rig that costs $10,000+ and weighs 8-15 kg including batteries. Poor weight distribution doesn't just cause discomfort; it can cause you to misalign the rig, introduce sway during capture, or drop something on a shoot day. This is where most off-the-shelf camera bags fail specialists. For data-backed strap fit and weight distribution, see our ergonomics guide.
FAQ: Core Considerations for Panoramic Bag Selection
What's the difference between a "bag designed for panoramic work" and a general multi-camera bag?
A true panoramic workflow bag prioritizes stitch-critical equipment and accommodates three specific needs:
- Rig integrity during transport. The panoramic head, quick-release plate, leveling ball, and camera mounts all must seat together without movement. This requires a rigid compartment, not soft padding.
- Quick modular reconfiguration. You'll swap cameras, lenses, or rotation mounts between jobs. The interior layout must let you extract one component without unpacking everything.
- Balance-aware weight distribution. Unlike a standard backpack, a multi-camera rig on a single platform creates asymmetrical loads. A dedicated bag organizes ballast (batteries, water bottles) to counterweight the rig, not just fill empty space.
General camera bags treat these as optional. Panoramic-focused bags make them structural.
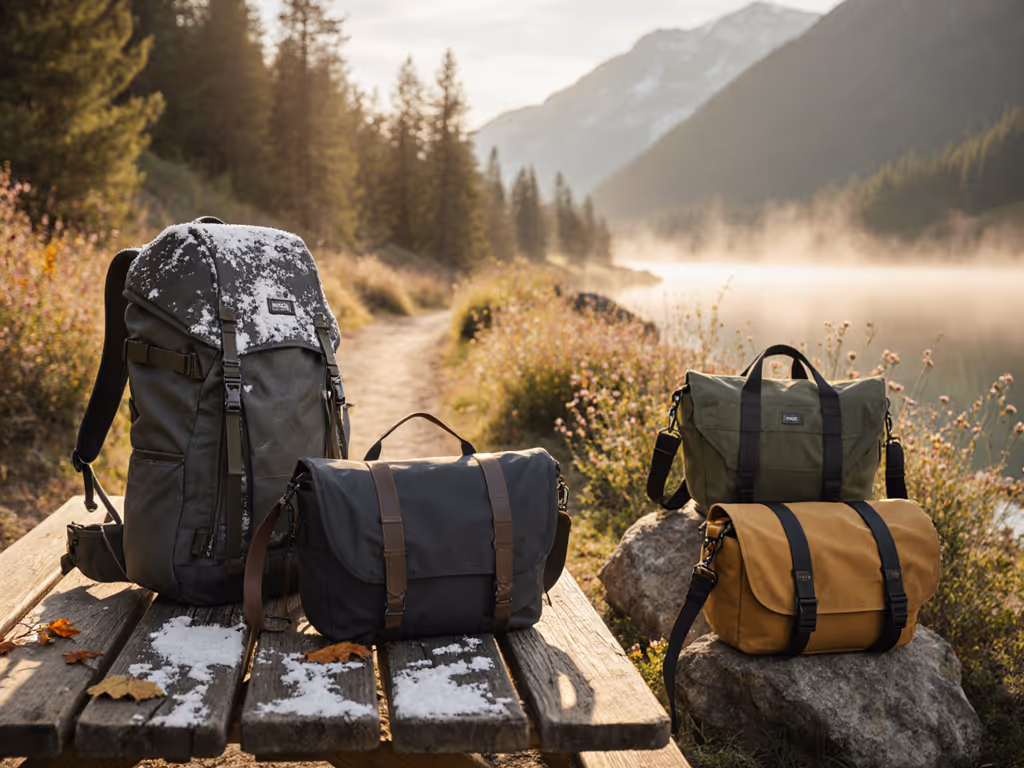
How do carry styles (backpack vs. sling vs. shoulder) affect panoramic photography workflow?
Your carry choice influences setup speed and access patterns:
-
Backpack carry. Best if you're hiking to a panoramic viewpoint and want both hands free and balanced load distribution across hips and shoulders. Drawback: removing the pack to set up is a two-step process, and if you're transitioning between spots every 20 minutes, that friction adds up.
-
Sling or messenger carry. One strap over your chest leaves one arm free for a gimbal, tripod, or second lens. Slings let you rotate the bag to your front without removing it, a feature photographers value for rapid access. For a quick side-by-side of access speed and comfort, read our sling vs backpack comparison. This is valuable on a crowded event floor. Drawback: sustained wear on one shoulder can cause strap slippage or pressure concentration if the strap geometry isn't body-inclusive (something I've tested extensively with pressure-mapping sensors), and many commercial slings stumble on smaller or broader frames.
-
Hybrid (backpack + sling). Wear a backpack for stable transport to the site, then unclip the rig compartment into a carry sling for on-site mobility. This adds weight but maximizes flexibility for multi-day shoots.
What capacity (liters) do you actually need for a panoramic setup?
Misleading capacity ratings are a pain point for photographers planning kits. For panoramic photography bags, think in terms of named loadouts, not abstract liters.
-
2-body rig (basic panoramic setup): Dual-body panoramic head, leveling ball, quick-release plate, 2 bodies, 2 lenses, 1 spare battery, ND filters, cable release... roughly 8-12 L of usable space.
-
4-body rig (advanced spherical capture): Panoramic head rated for 4 bodies, 4 batteries, rotating mount, 3-4 lenses, ND/polarizer filter set, audio recorder... typically 15-20 L.
-
Single body + panoramic head (hybrid photo/video): Body, head, 2-3 lenses, video tripod head, 2 batteries, spare memory... 10-14 L.
Always test your actual kit in a candidate bag before committing. Liters are a starting point; fitment is what matters.
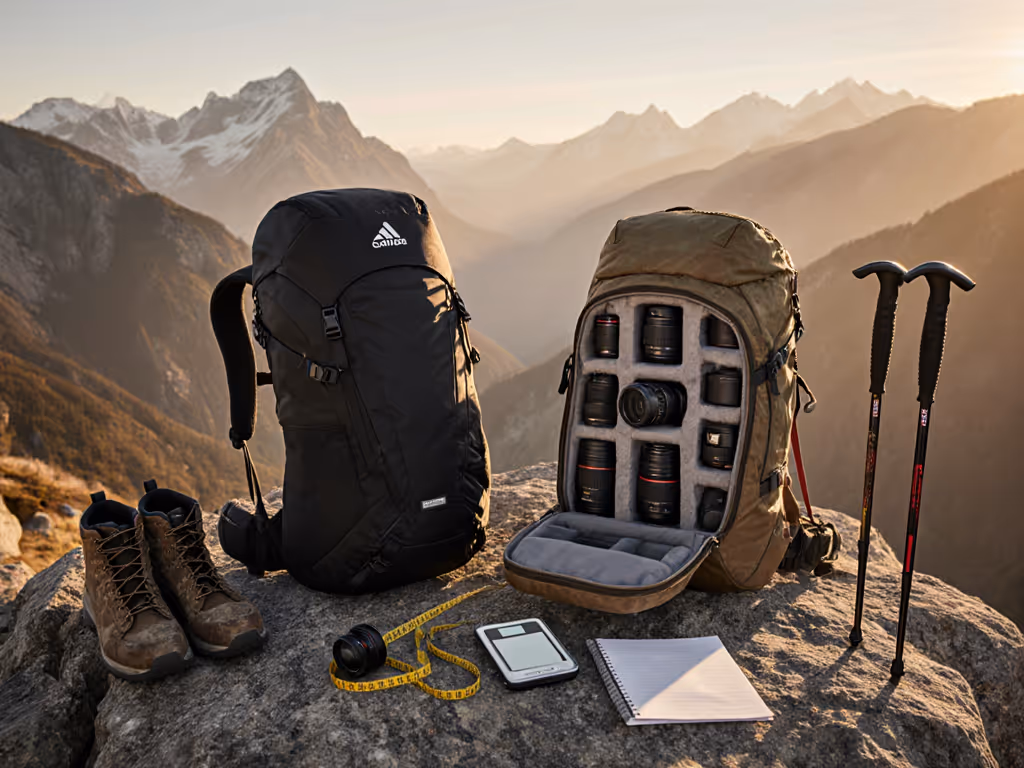
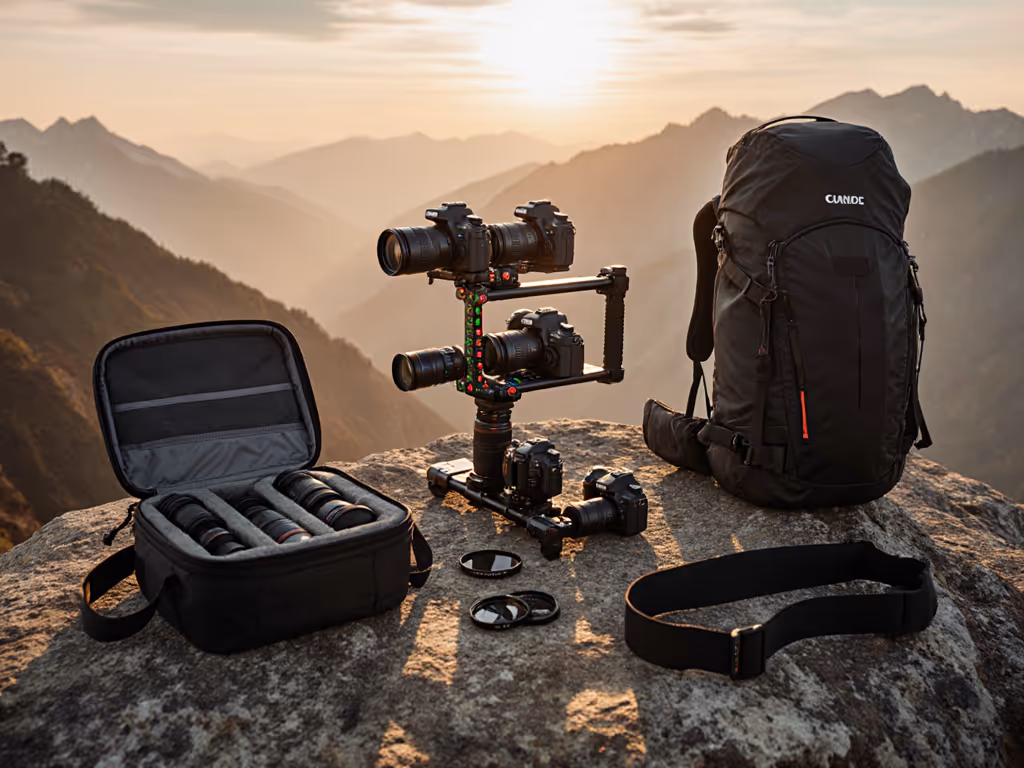
What role do modular inserts and custom dividers play?
Standard foam dividers waste space and make multi-camera rig organization slow. Purpose-built panoramic bags use:
-
Rigid rig compartment (often at bag base): Prevents your panoramic head from rotating or shifting during transport. Usually includes a removable aluminum or hardboard tray sized to your head's footprint.
-
Modular micro-dividers: Thin, repositionable partitions let you create snug slots for each lens, battery, and accessory. For design tradeoffs and when to choose each, see our modular vs fixed compartments comparison. The bag remains organized and balanced; you don't over-pack to fill gaps.
-
Quick-access external pockets: Spare batteries, memory cards, cable release, and filters live outside the main compartment so you're not fishing through the rig to restock during a shoot.
This modularity is non-negotiable for teams rotating rigs or switching between photo and video panoramic photography workflow on the same day.
How should a bag distribute the weight of a heavy panoramic rig across your body?
Fit is physics; comfort is the output of load paths. A 12 kg rig feels tolerable for 4 hours if the load path routes evenly through your hip belt, shoulders, and spine. It feels agonizing after 90 minutes if the straps are narrow, non-adjustable, or positioned to slide upward.
Key biomechanical checkpoints:
-
Hip belt geometry. The belt should wrap low on your pelvis (not your waist) and sit perpendicular to your spine. For panoramic work, at least 40-50% of the load should transfer through your hips, not your shoulders. Many standard camera bags offer minimal hip support; specialist bags build this in.
-
Shoulder strap angle and width. Straps should angle inward from the pack at 25-35 degrees, not hang straight down. Width matters: straps under 2 inches (5 cm) concentrate pressure; soft padding without structure doesn't reduce pressure density. I once carried two back-to-back wedding shoots in sling bags with soft webbing straps (clean, sleek look) and ended up with a bruise under my clavicle that took two weeks to fade. What looked most elegant in product photos lost to a bag with load lifters and curved shoulder wings.
-
Load lifters (straps from pack to shoulder). These angle the upper pack away from your spine and shift center of gravity closer to your body, reducing fatigue on long carries. Non-negotiable for a 12+ kg panoramic rig on an all-day shoot.
-
Chest strap. Prevents shoulder-strap slippage and distributes load laterally. Must be adjustable for different torso lengths (common gap in standard bags for smaller-framed photographers).
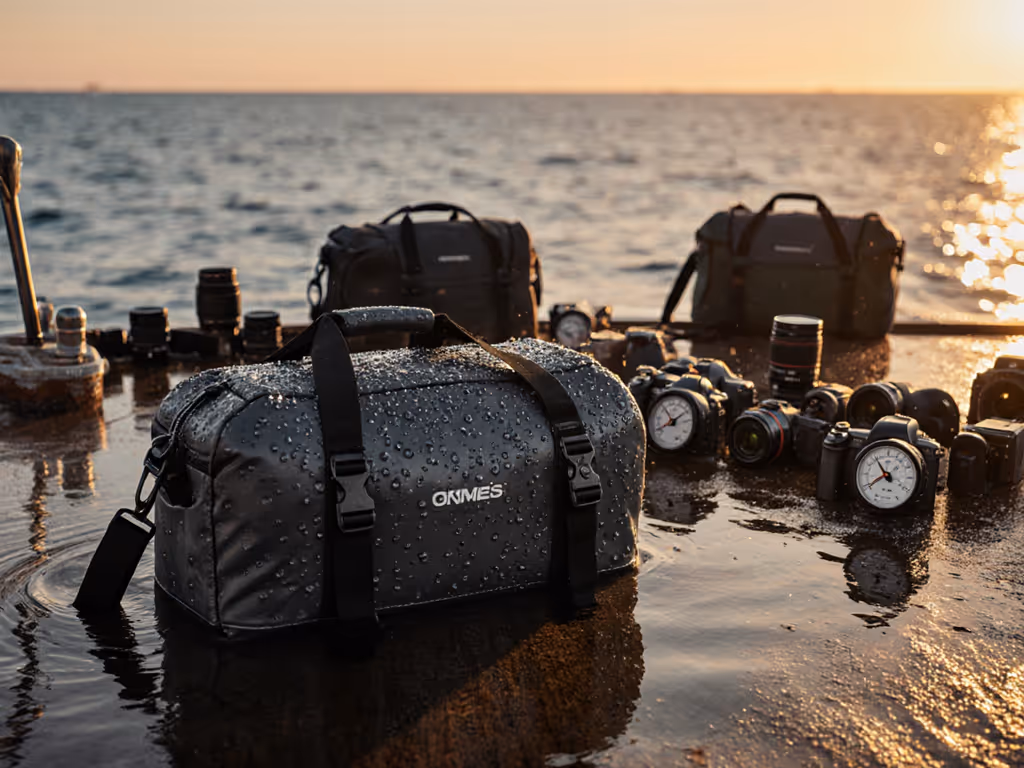
What about weather protection and impact resistance for a high-value rig?
Your panoramic head and cameras are precision instruments. Transport must protect them from:
-
Water ingress. Zippers can wet out in sustained rain; many bags use basic nylon that absorbs water. Look for bags with taped seams, waterproof zippers, or a removable rain cover that doesn't require fumbling on a shoot day. Test in a sink before committing.
-
Corner crush and drop impact. The panoramic head's mounting plate is often the first point of contact in a drop. Bags with reinforced corners (aluminum or rigid polymer) and shock-absorbing base pads reduce risk. Internal shock cord or a foam cradle for the rig is essential.
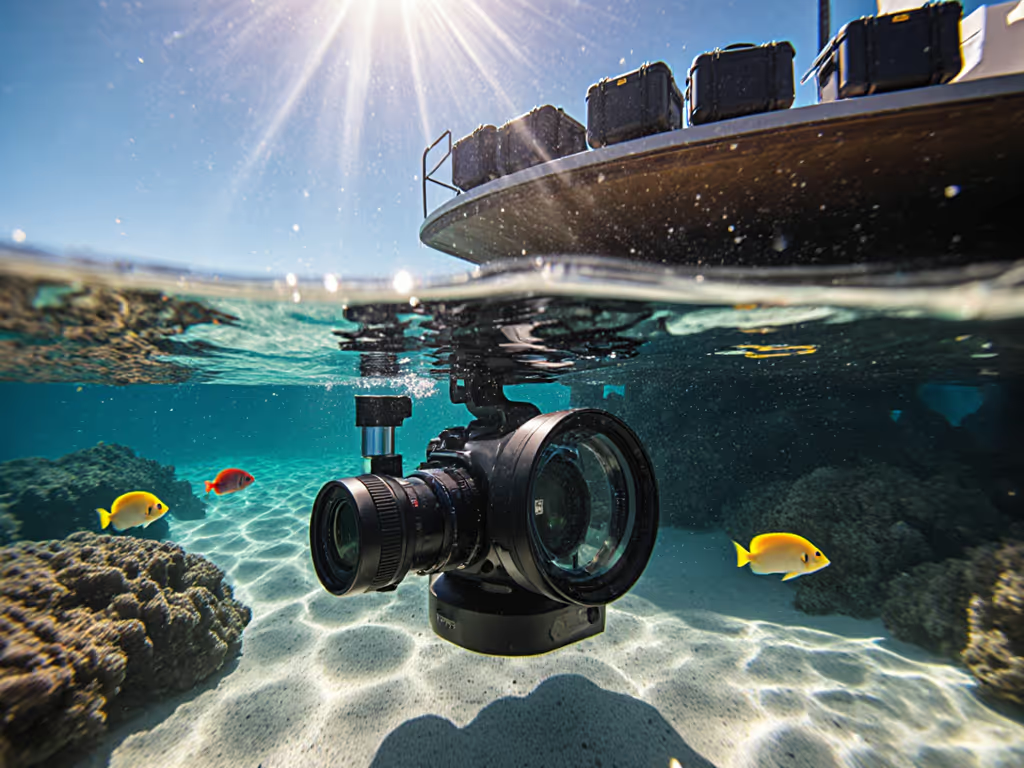
-
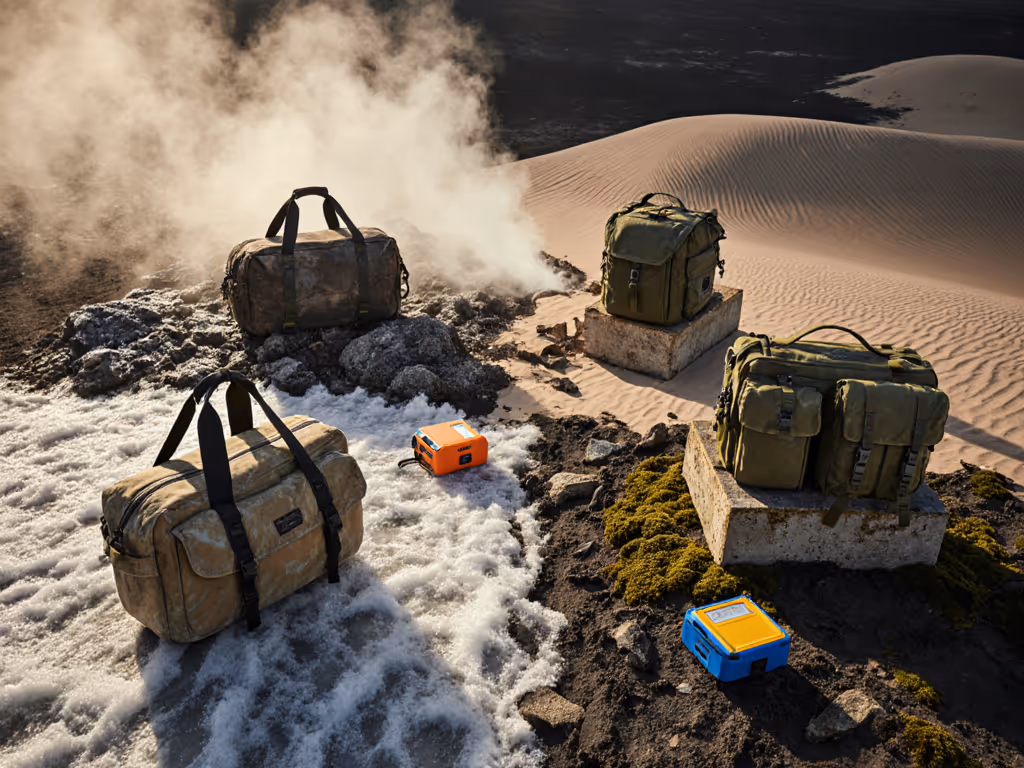
Dust and salt spray. If you're shooting in a desert or coastal environment, padding that traps dust is counterproductive. Mesh compartments with sealed closures keep the rig dry and clean between uses.
What size should the external tripod/head carry be?
Most panoramic photographers carry a sturdy tripod (2-3 kg) or gimbal rig separately, but some bag designs include external lashing points or dedicated straps.
If integrated: Ensure the tripod attachment doesn't block access to the main camera compartment. See our tripod integration tests for fast, stable carry options that don't block access. Unbalanced external load creates sway, especially on stairs or while moving between venues. Test by loading your actual tripod and walking a typical setup route (parking lot to rooftop, etc.) before buying.
Many specialists opt for a two-bag system: a compact sling for the panoramic head and 1-2 bodies, plus a rolling case or tripod bag for the stand and backup gear. This reduces per-bag weight and keeps the high-frequency access items close.
How do you know if a bag will fit carry-on limits?
Airline carry-on dimensions vary (typically 22 × 14 × 9 inches for North American carriers, 55 × 40 × 20 cm for international). A bag that measures within spec when empty can exceed limits once packed and expanded. For panoramic rigs, compression is limited; you can't squish a rigid head.
Approach: Check the bag manufacturer's stated dimensions and compare against your airline's policy. Cross-check dimensions and packing tips with our TSA-approved travel checklist. Pack your rig and measure the packed bag (including straps) against a simple box or ruler. Plan for regional variation; international trips may require a checked case anyway if your rig is valuable.
Actionable Next Steps
Step 1: Map your rig. List every component: cameras, lenses, head, plates, batteries, filters, cables. Weigh it. Measure the footprint of the panoramic head.
Step 2: Define carry scenarios. Do you commute on foot, bike, or car? Will you carry the rig to a shoot site, or transport it in a larger case and transfer to a smaller bag on location? Are you hiking, ascending stairs, or moving through crowds?
Step 3: Pressure-test candidate bags. Load your actual rig into a shortlist of bags. Wear each for 30-45 minutes while walking varied terrain (stairs, sidewalk, uphill). Note pressure points, strap slippage, and access friction. This is where real-world fit emerges; online specs alone can't predict comfort on your body.
Step 4: Validate load paths. A structured hip belt and load lifters are non-negotiable for a heavy rig on an all-day shoot. Don't accept a bag with minimal hip support or thin shoulder straps, no matter how compact it appears.
Step 5: Test weather resistance. Run water over zippers and seams. Leave it in light rain for 15 minutes if the vendor allows. You're betting gear protection on this bag; verify it holds.
Step 6: Plan for modularity. If you'll swap between photo and video panoramic workflows, confirm the interior dividers can reconfigure in under 5 minutes without losing organizational logic.
The right panoramic photography bag won't feel like a compromise. It will carry your rig securely, keep you comfortable for a full shoot day, and let you focus on the shot, not the gear underneath.
Related Articles